Final design + install for a Vegas style wedding chapel
THE ALTAR ELECTRIC’S NEW HQ – Part 2
Design + install
If you haven’t read part one of this three part blog post, you might want to start there. It talks you through who The Altar Electric are, what they wanted to create and how we came up with a concept for them to base the design of their new chapel on.
You can also read about the chapel on Broadsheet.

FINAL DESIGN
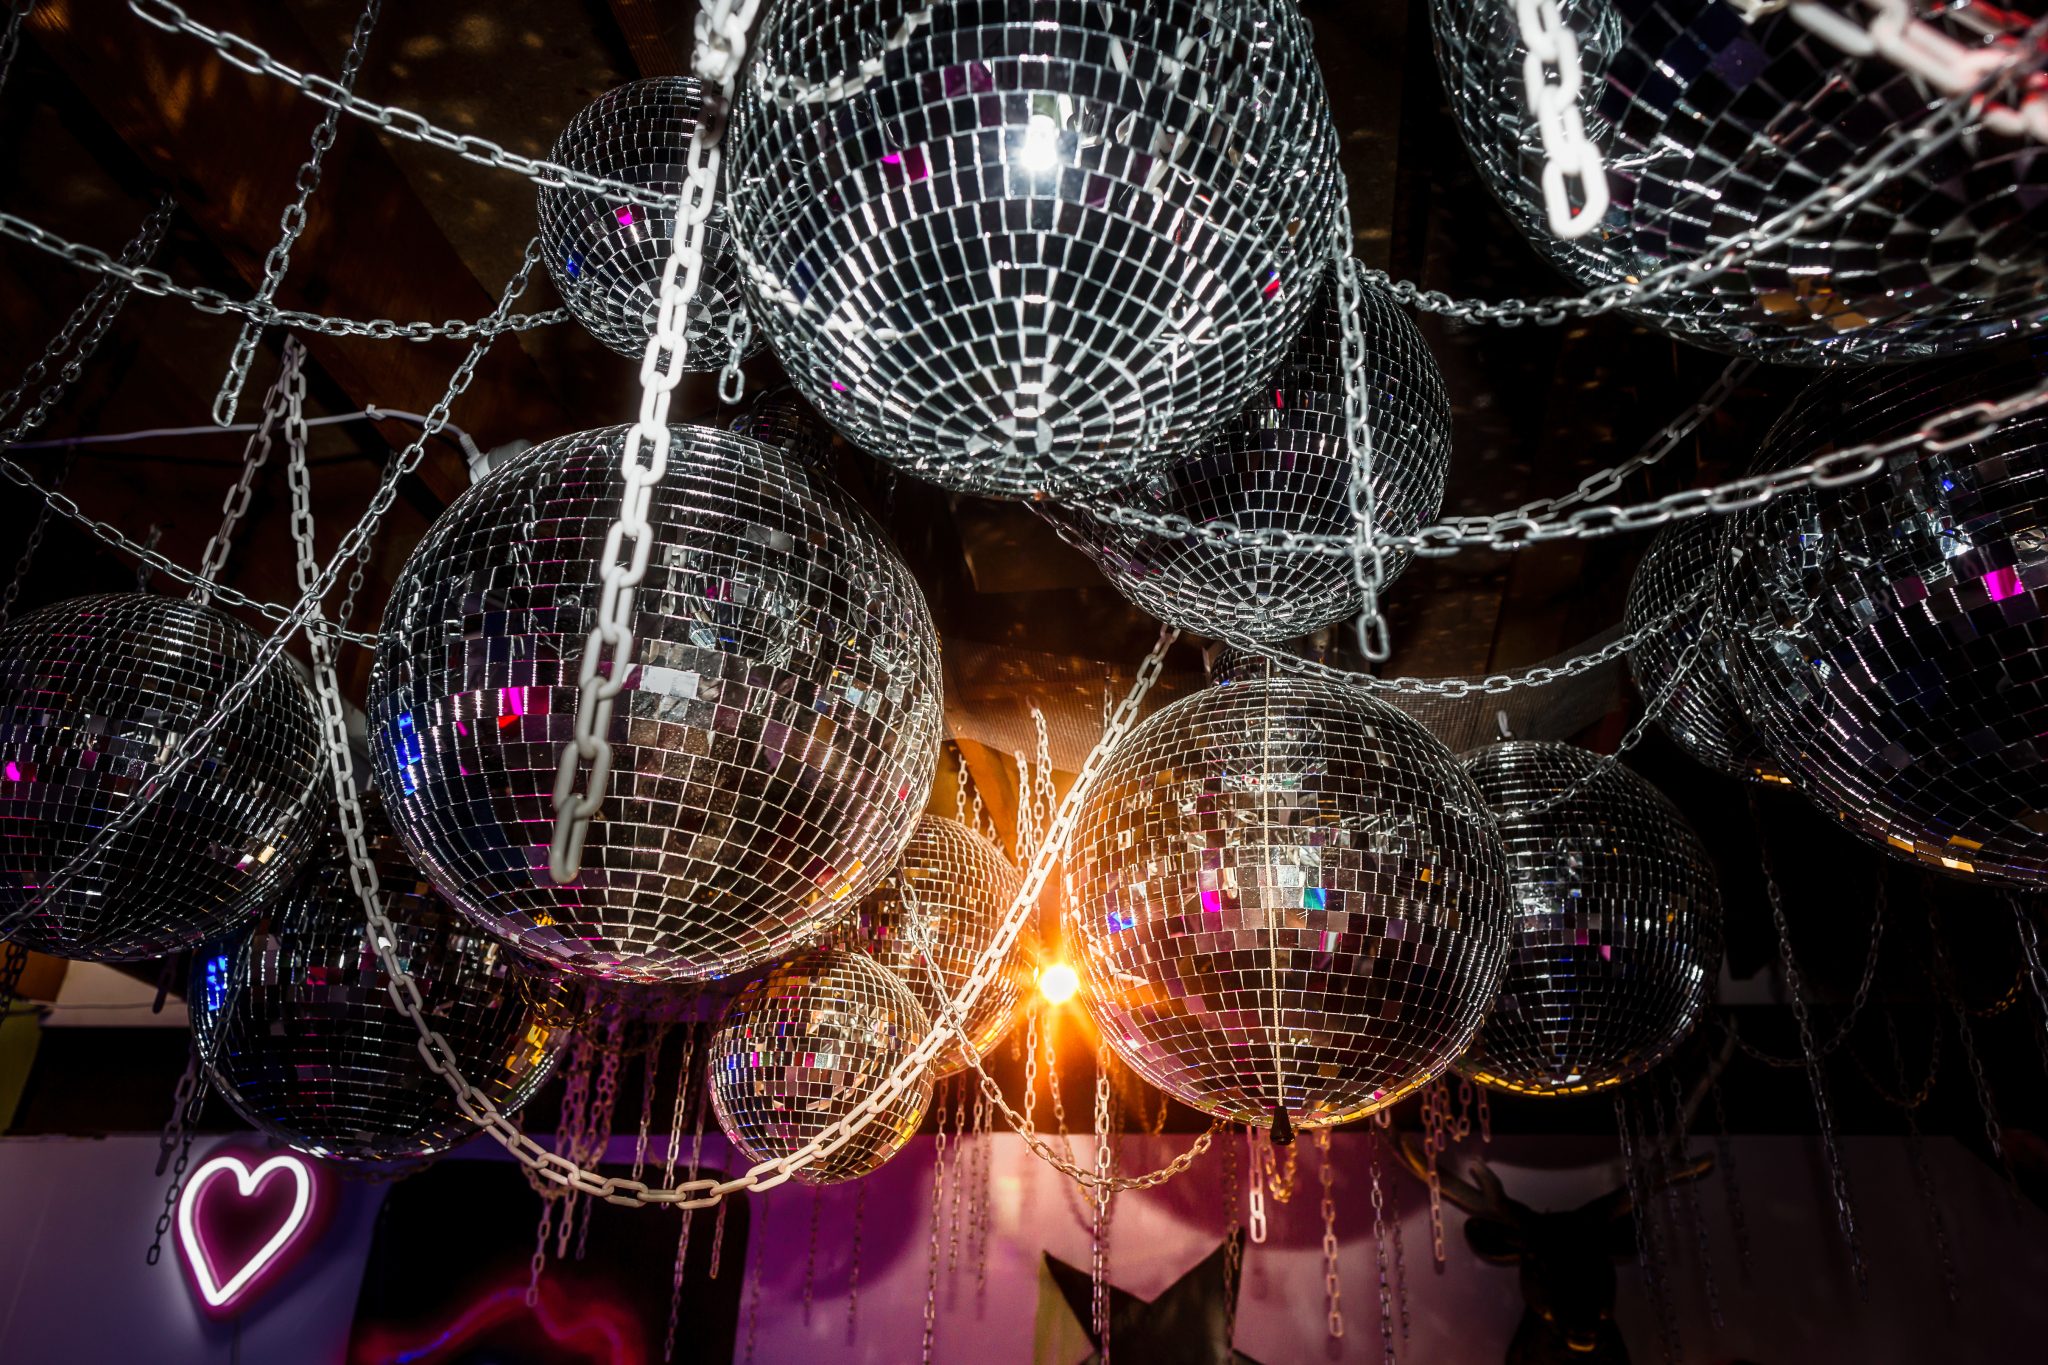
It took us about three months to get to the point where we could say, yep this is the final design – let’s make it happen. We went through about five or six sets of designs and as is often the case, circled back to much of the first design in the final design. A very big part of the design was to warm up the existing space, while leaving in some of the authentic industrial elements – like the worn, character filled concrete floor. I don’t think anyone in the history of the world has ever said, “I want to get married in a cold hard industrial space please. I want it to feel in no way warm or cosy. Thus much of the final design was introducing warm, giving textures, some warm colours and of course, adding lots of fun.
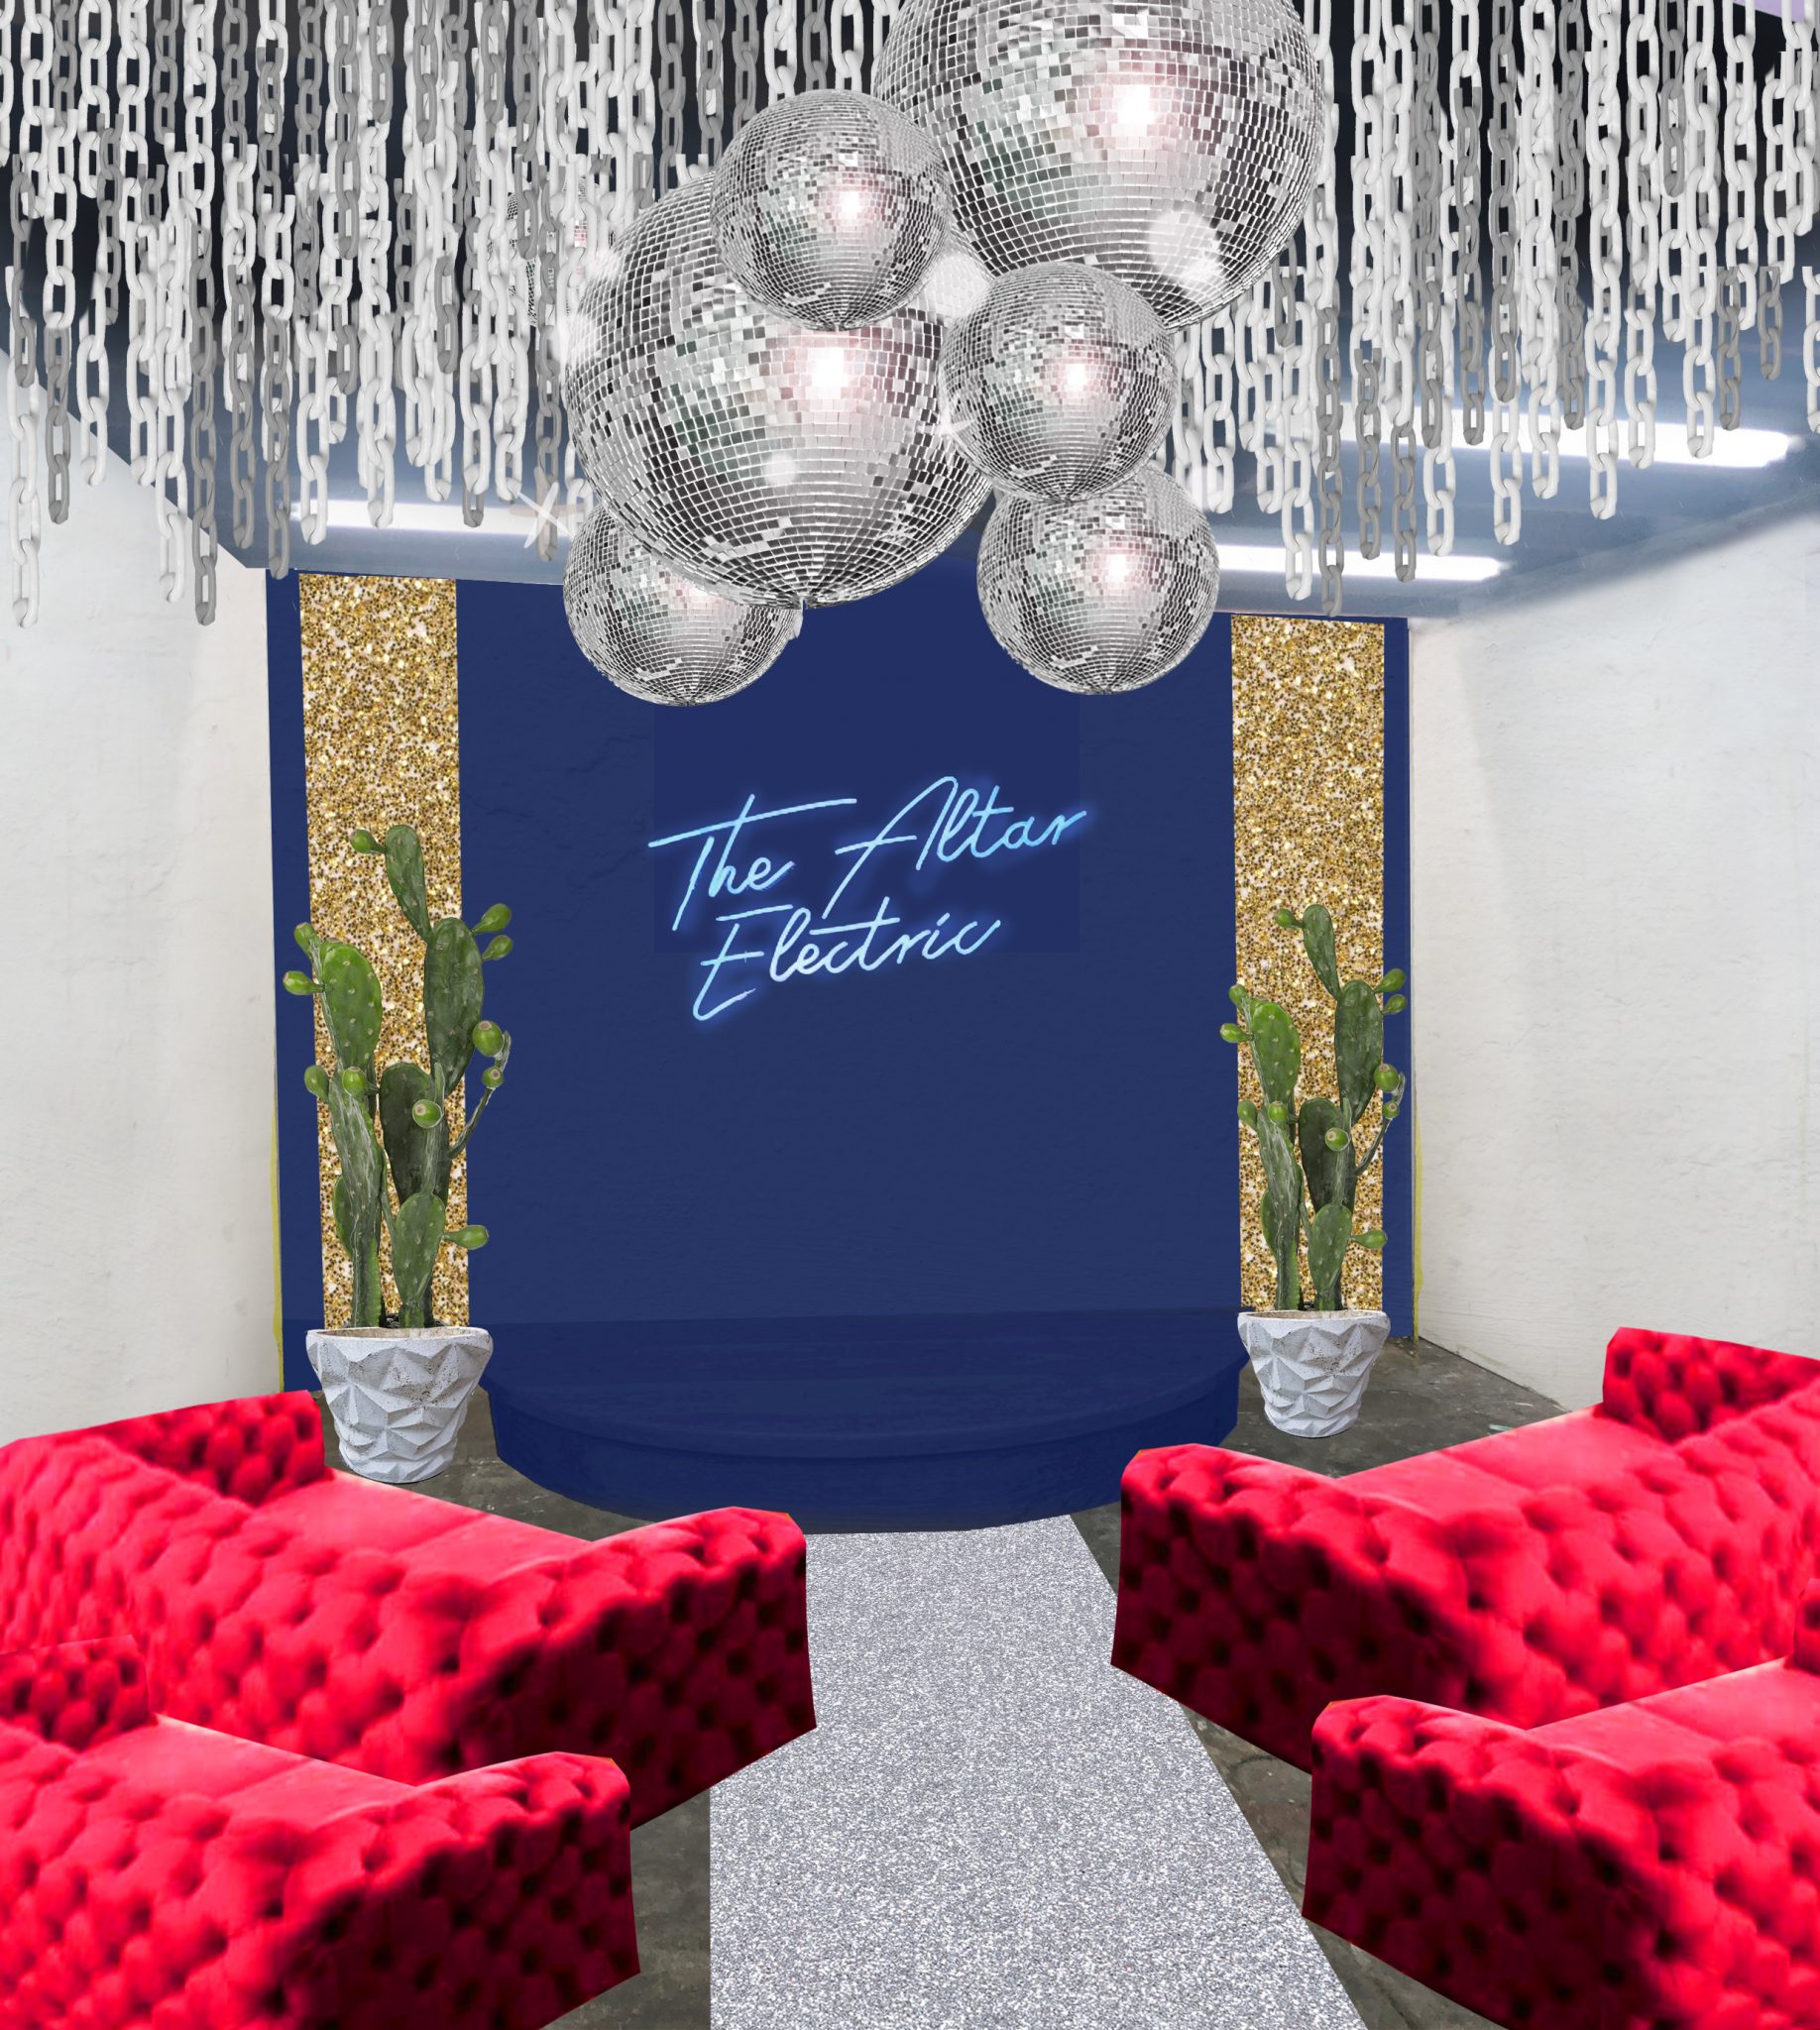
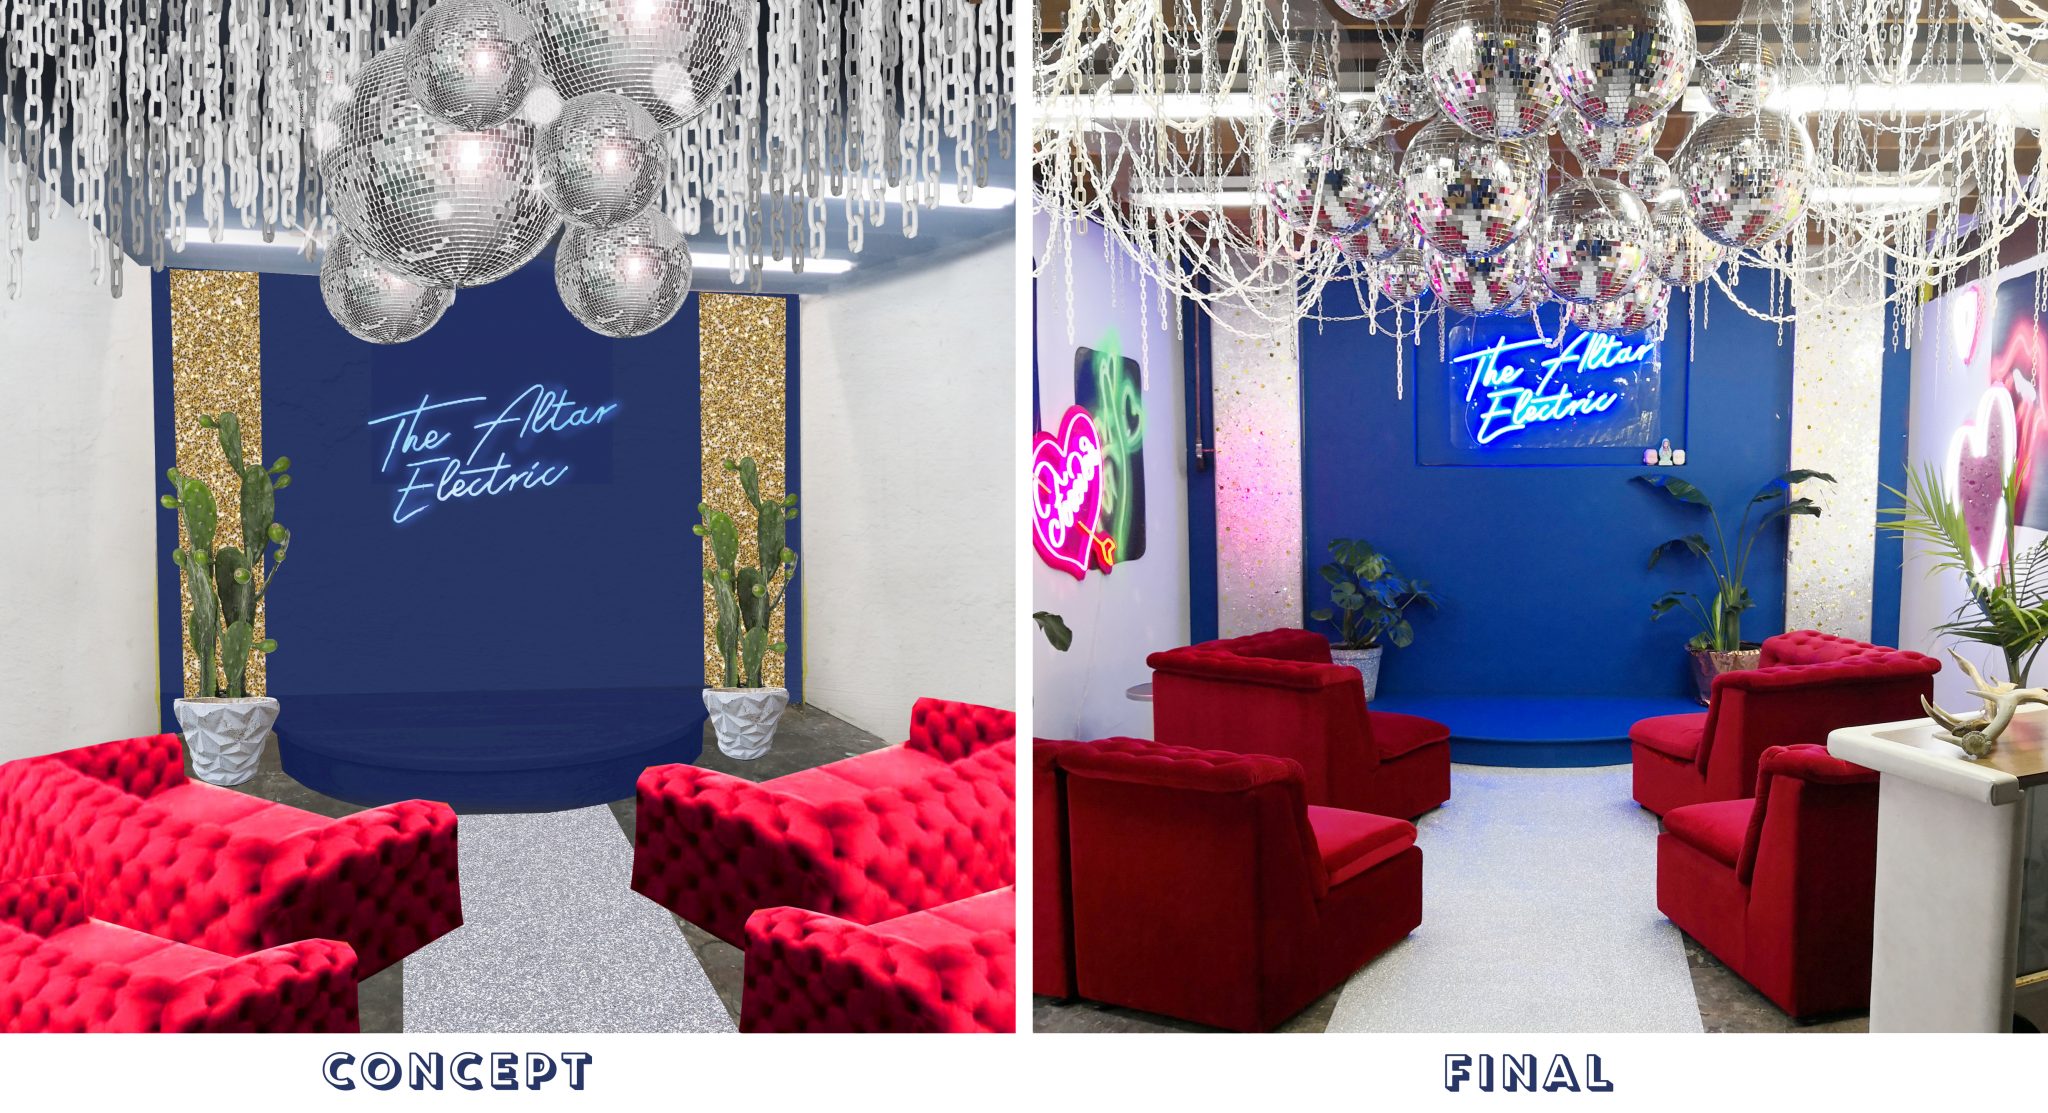
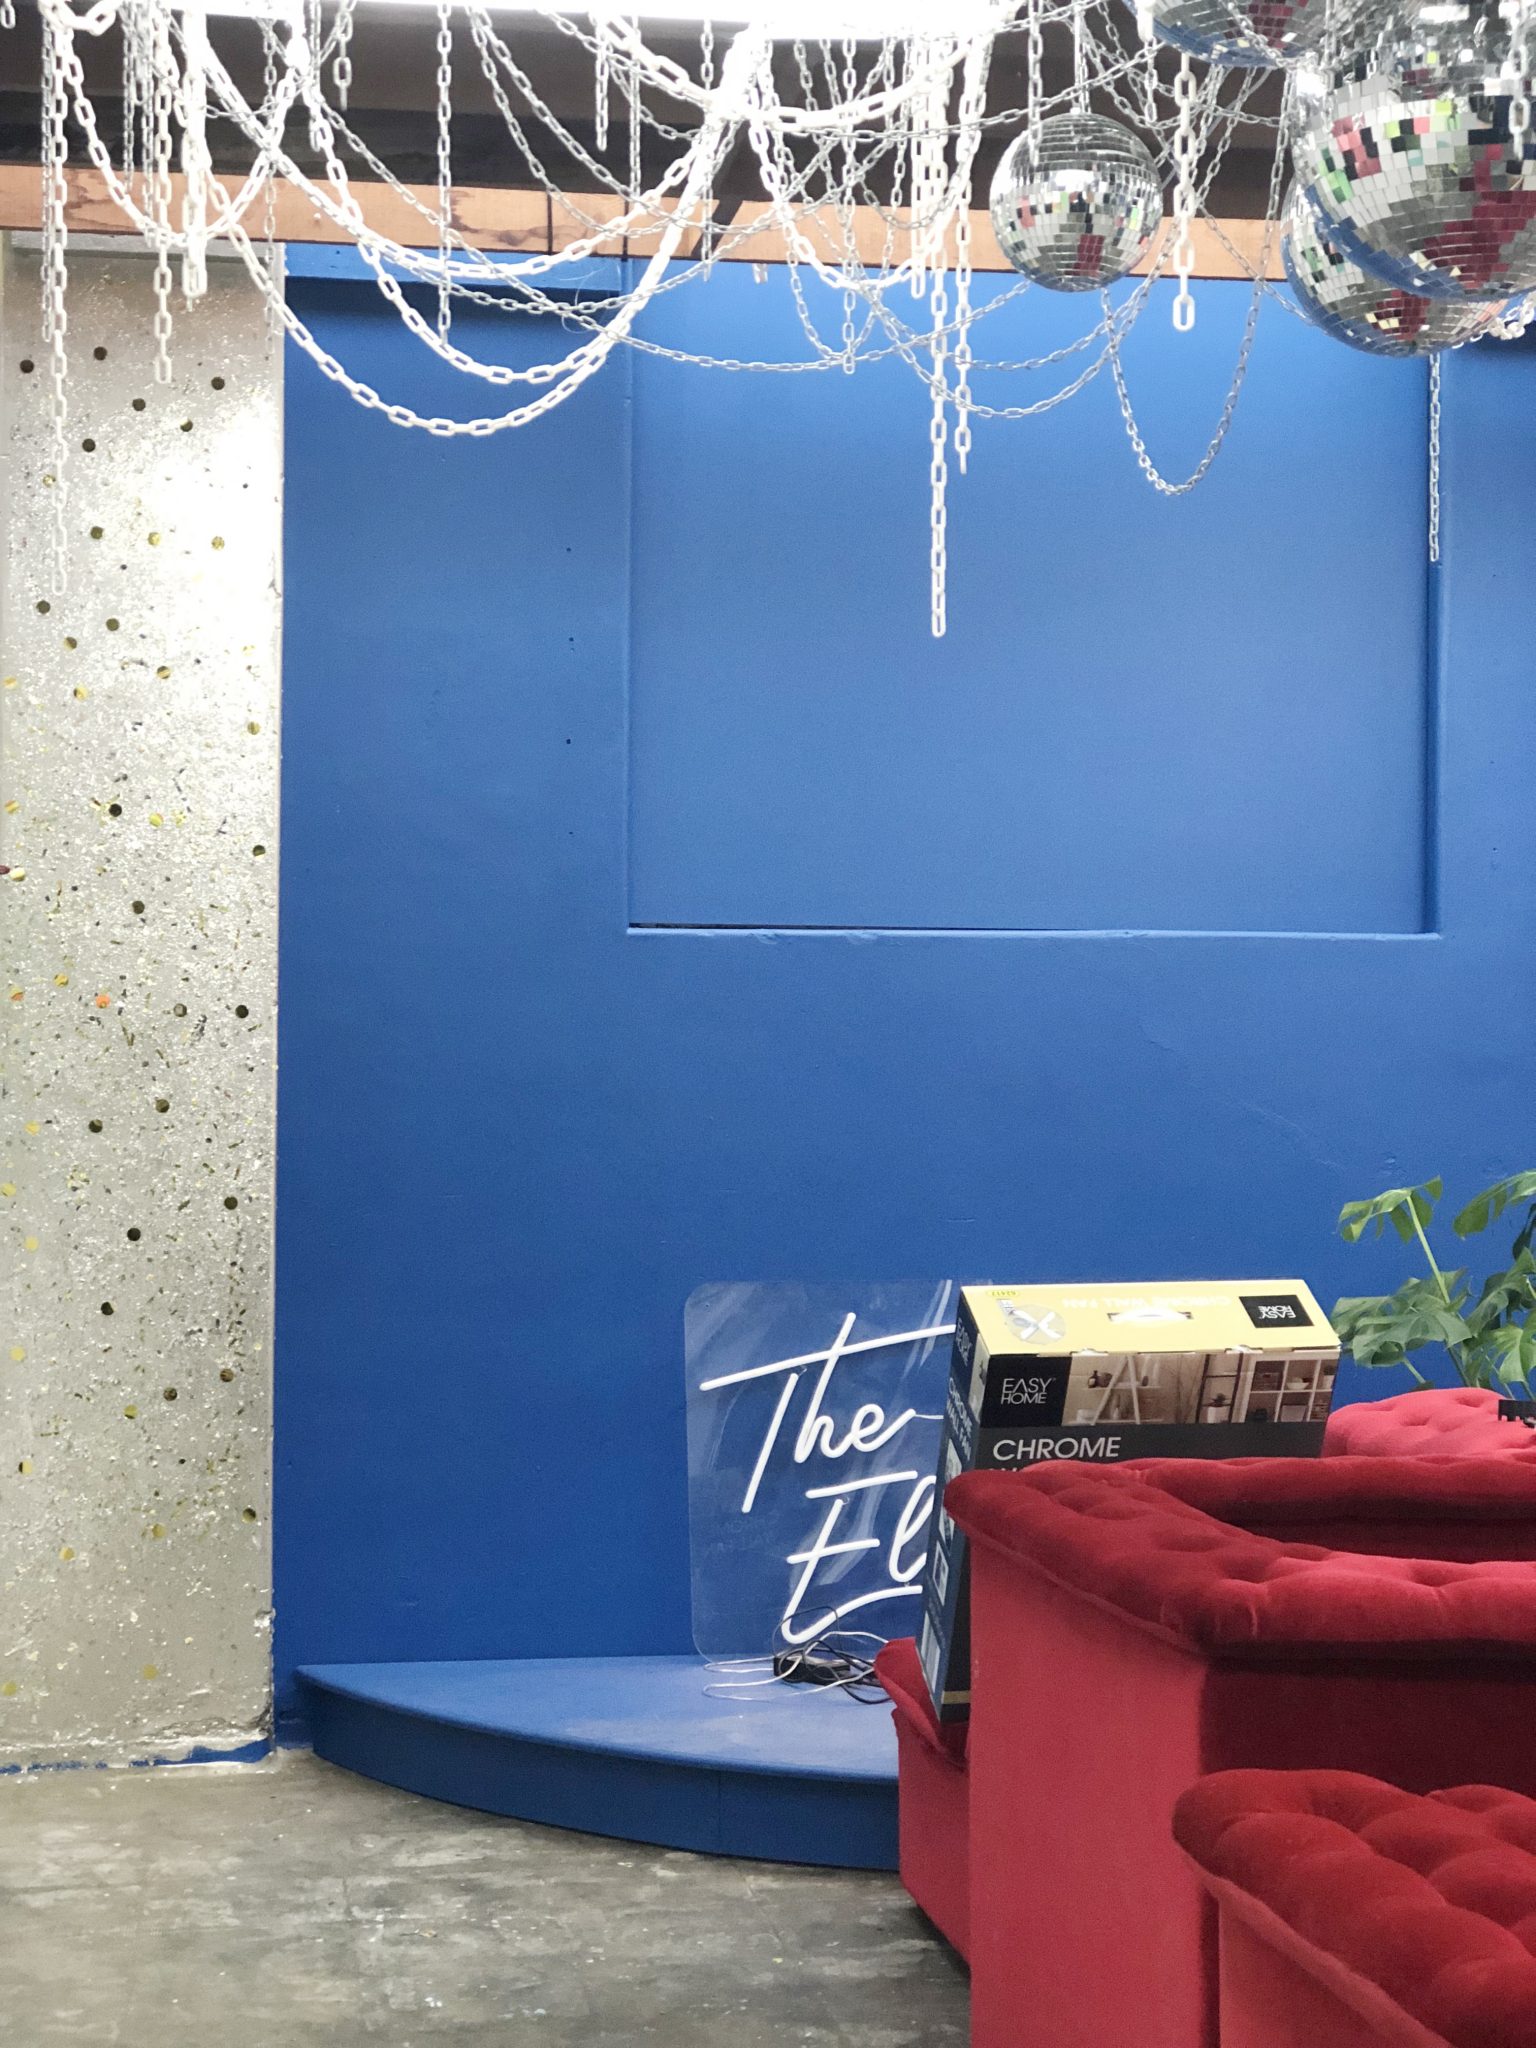
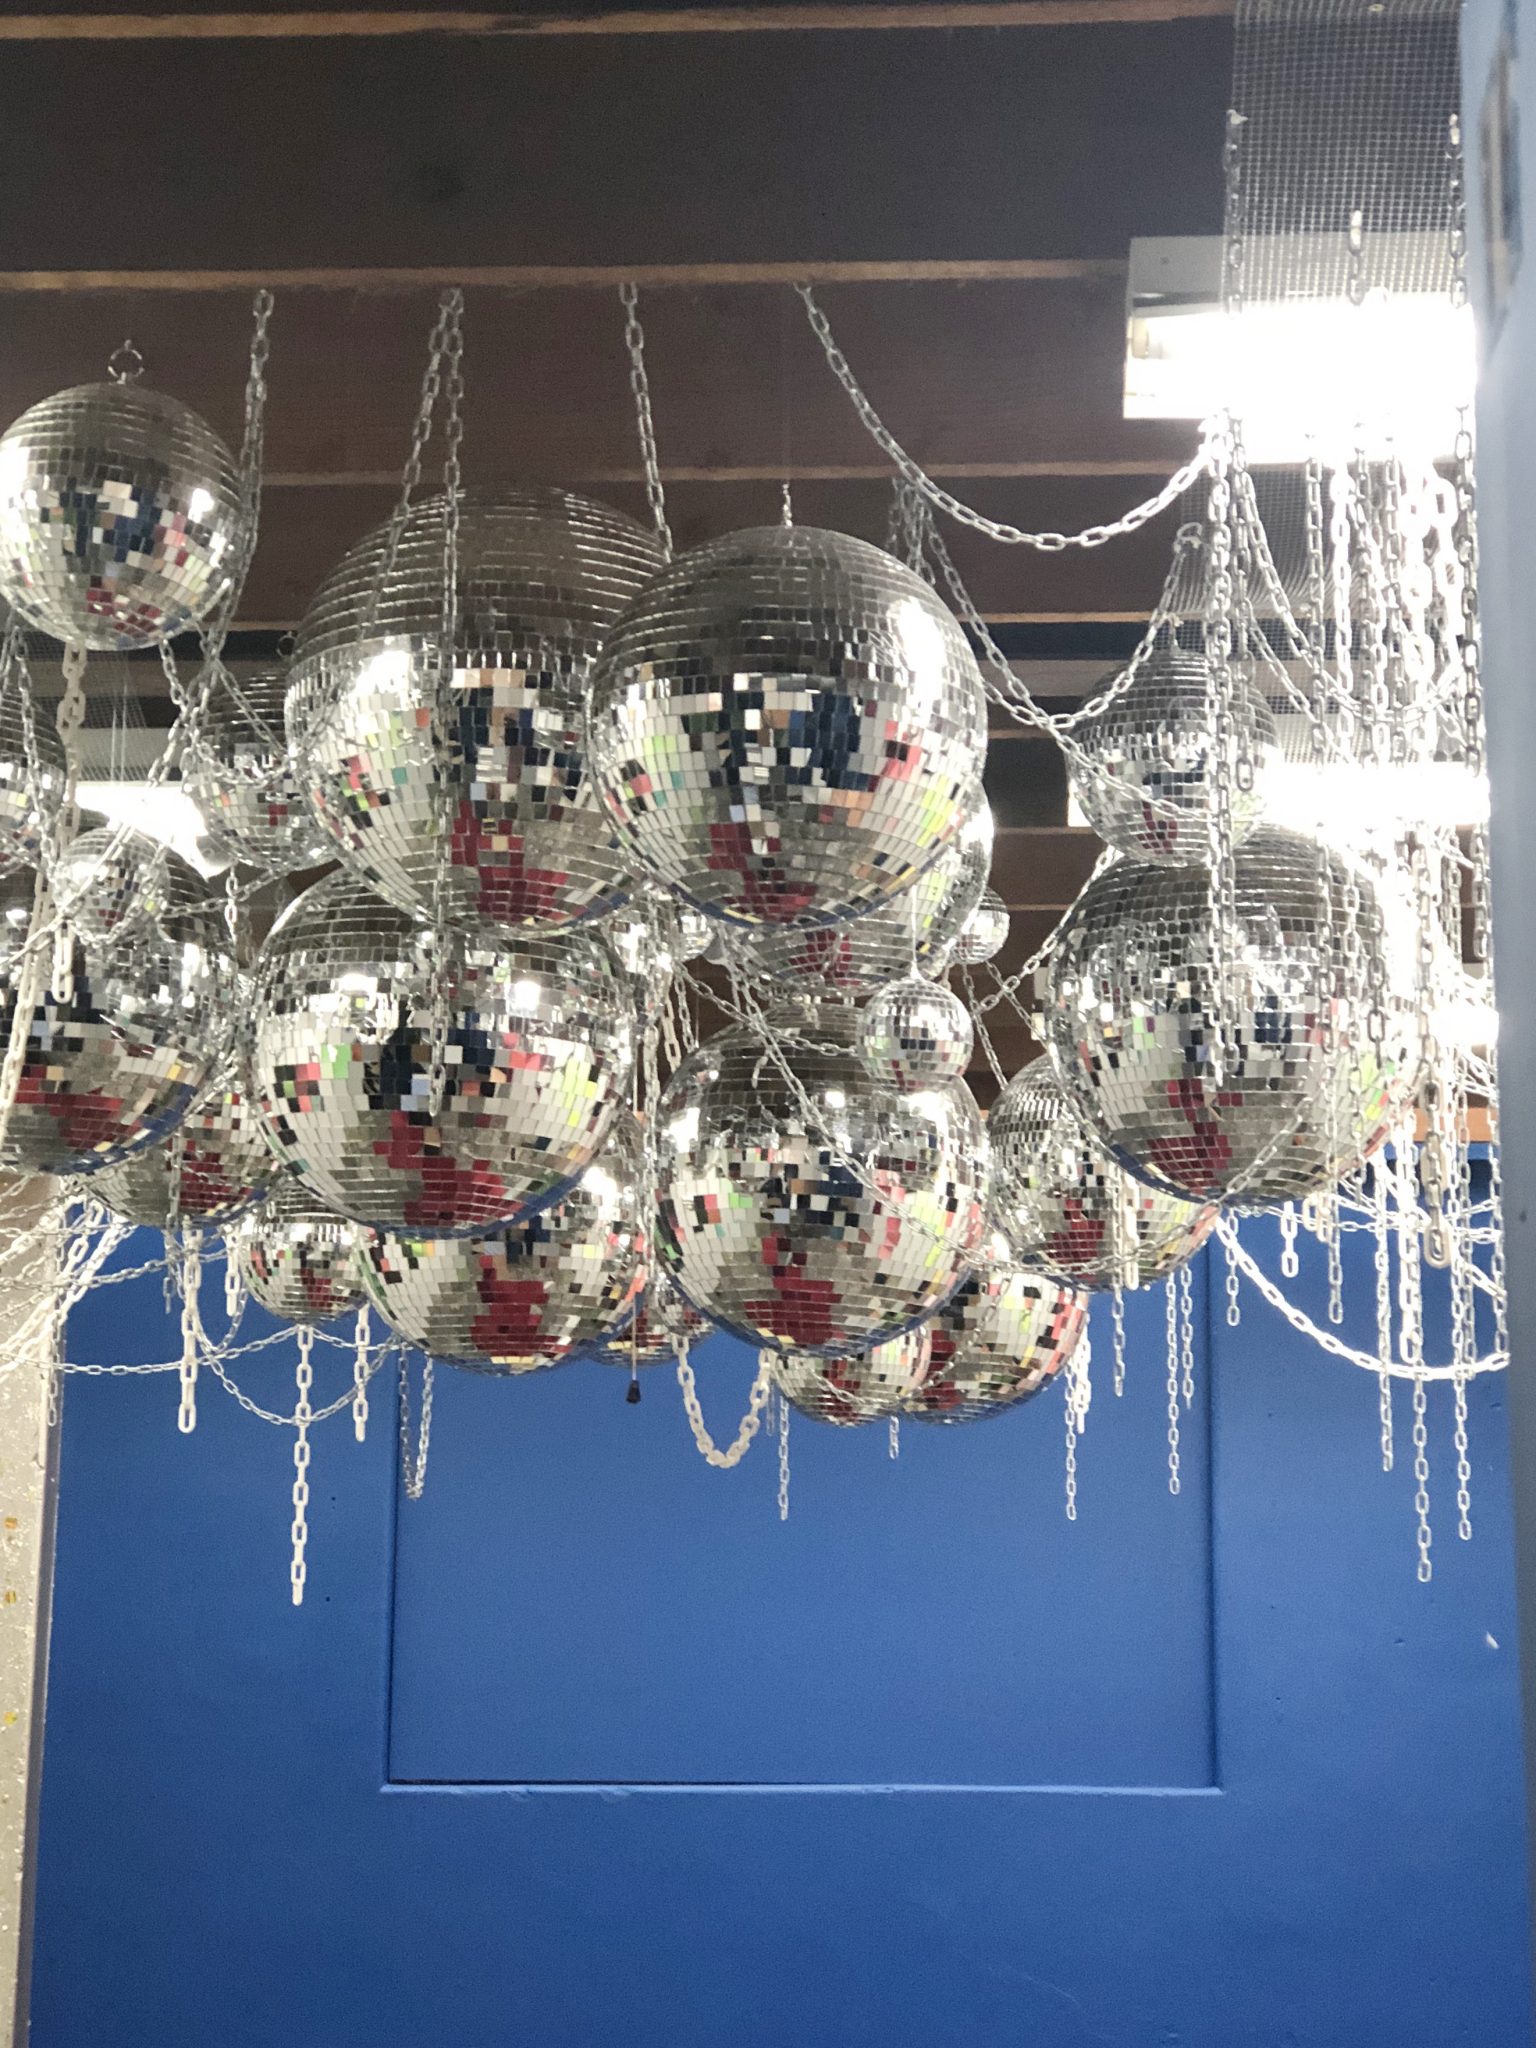
This render of the final design shows the x30 disco ball ceiling, with 150m of white plastic and galvanised chain which remained throughout all of the design iterations. The red 70s Fler modular couch was the thing that eventually brought it all together – being able to have a range of seating configurations as well as the iconic look of the Fler couch and it’s extreme lushness and comfort, meant it got a big yes! The silver glitter runner was also a winner from the start as was the blue front wall to mirror The Altar Electric’s already iconic electric blue neon sign. Gold and pink were used to tie the colours together, with the pink high gloss booth at the back.
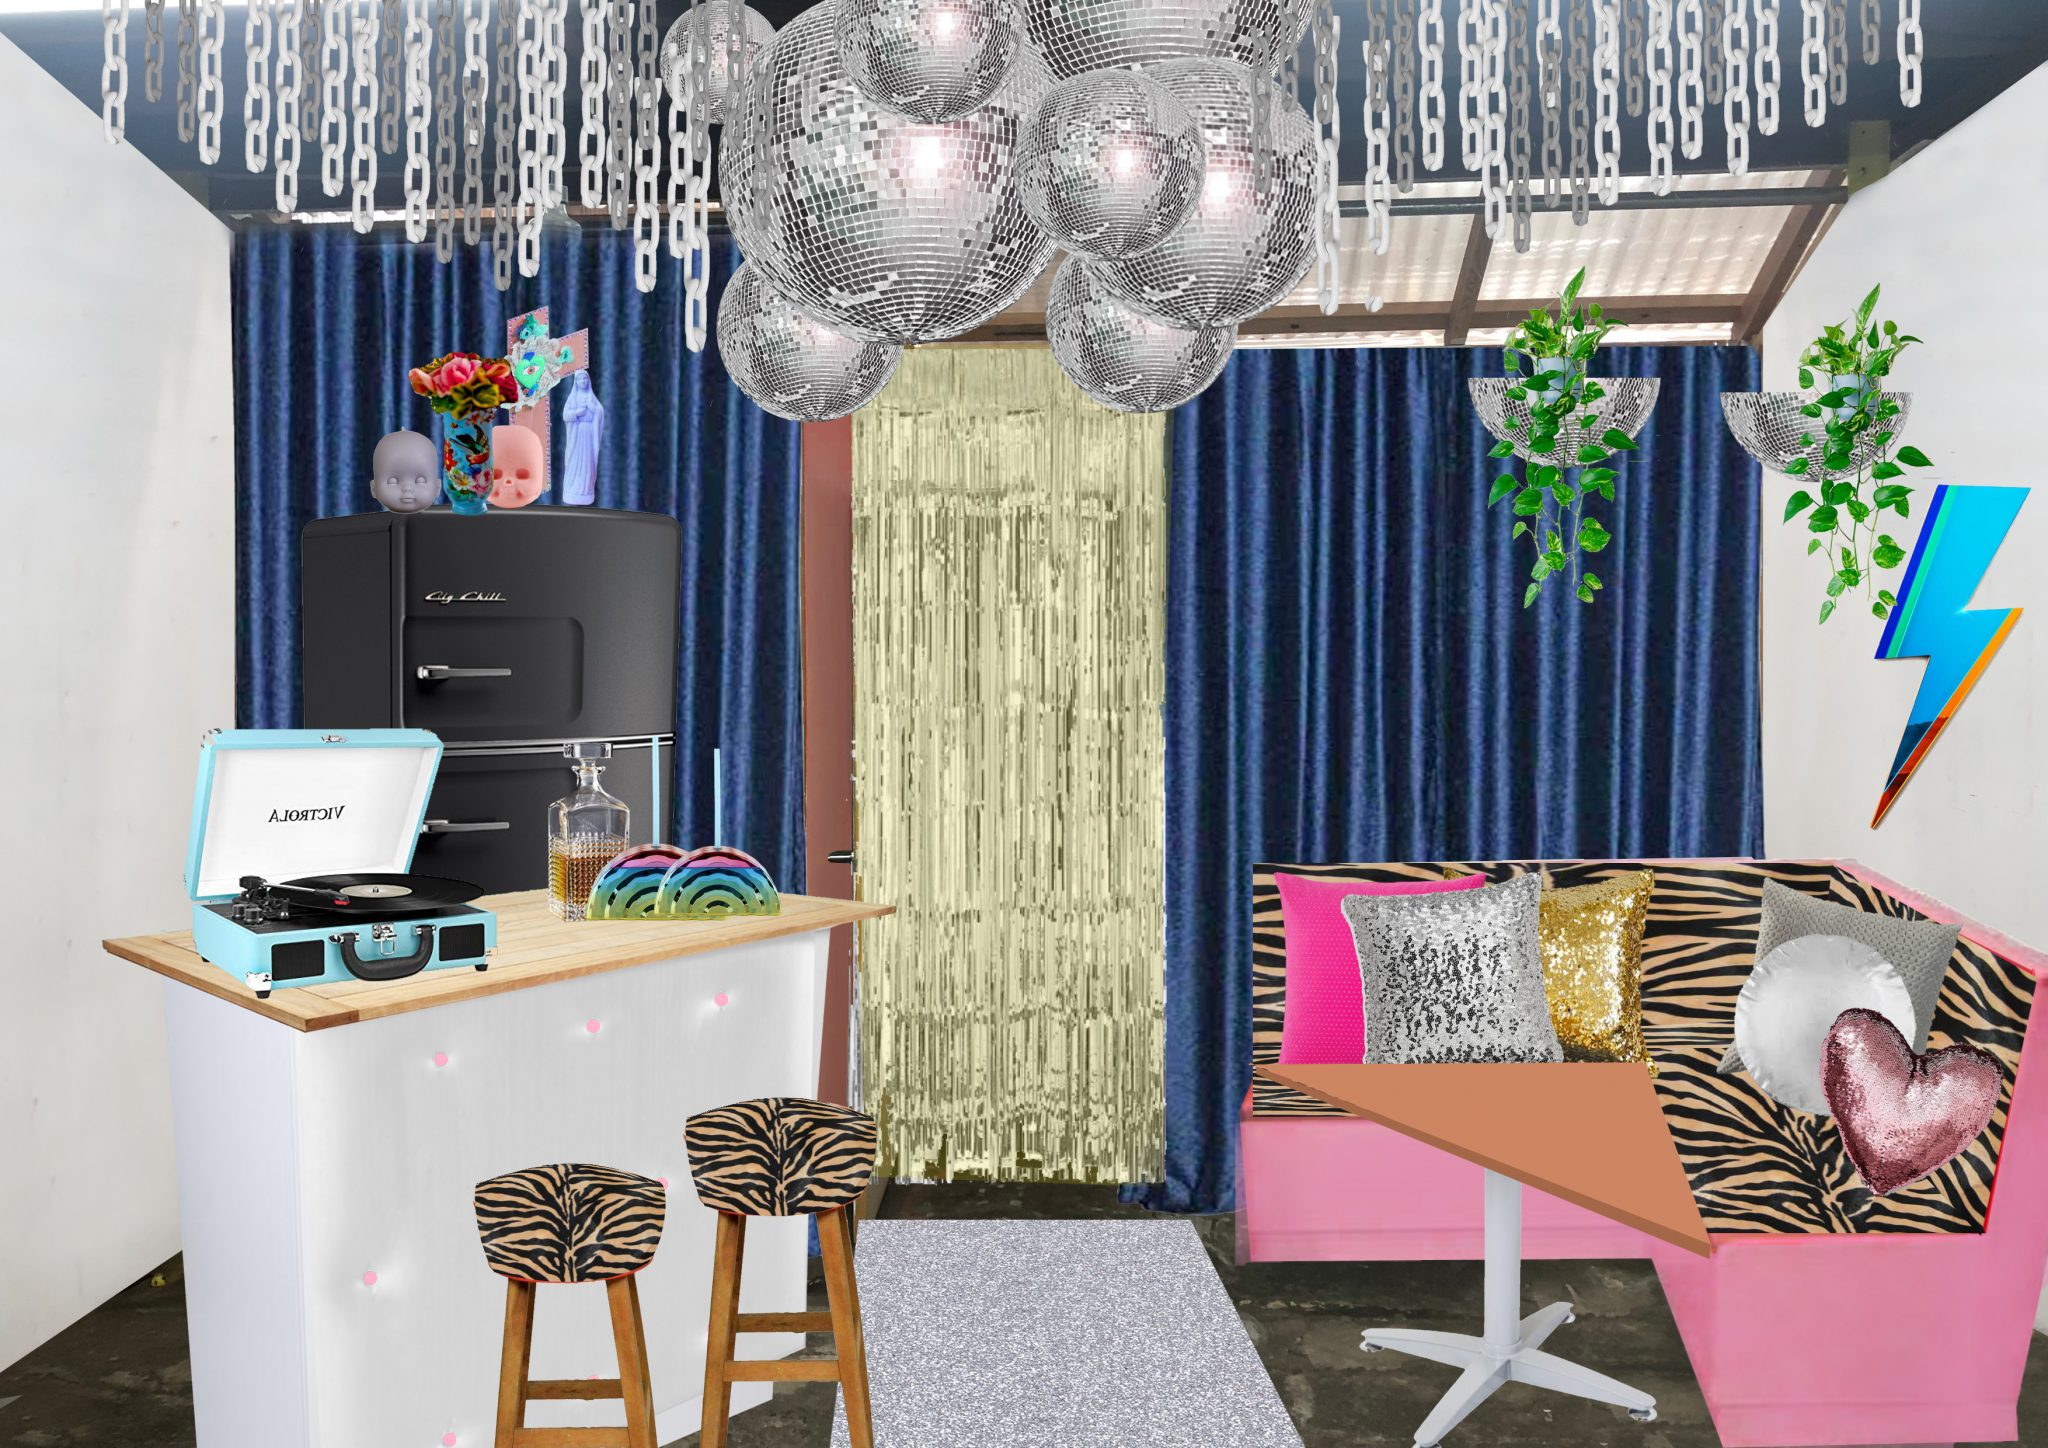
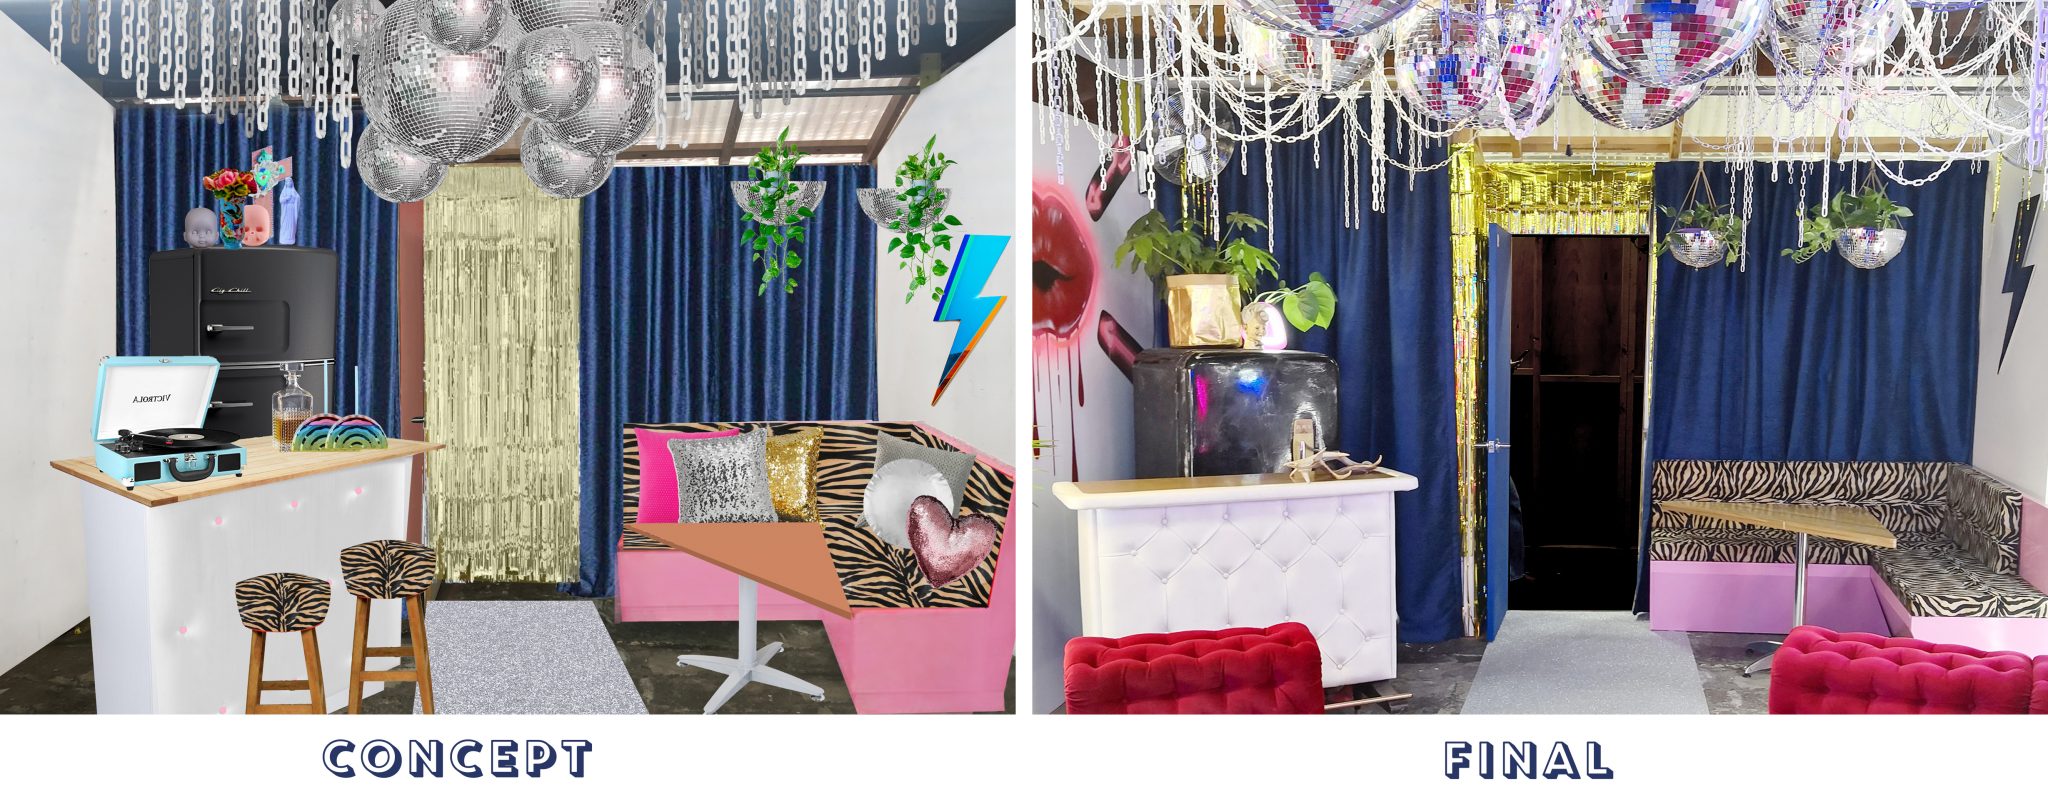
Including a bar in the back corner served many, many purposes. Firstly, who doesn’t like a drink at a wedding? And secondly, in such a small space, it can also be used for storage, serve as a DJ booth and create an additional ‘space’ in the chapel to allow for a variety of photos for the couples.
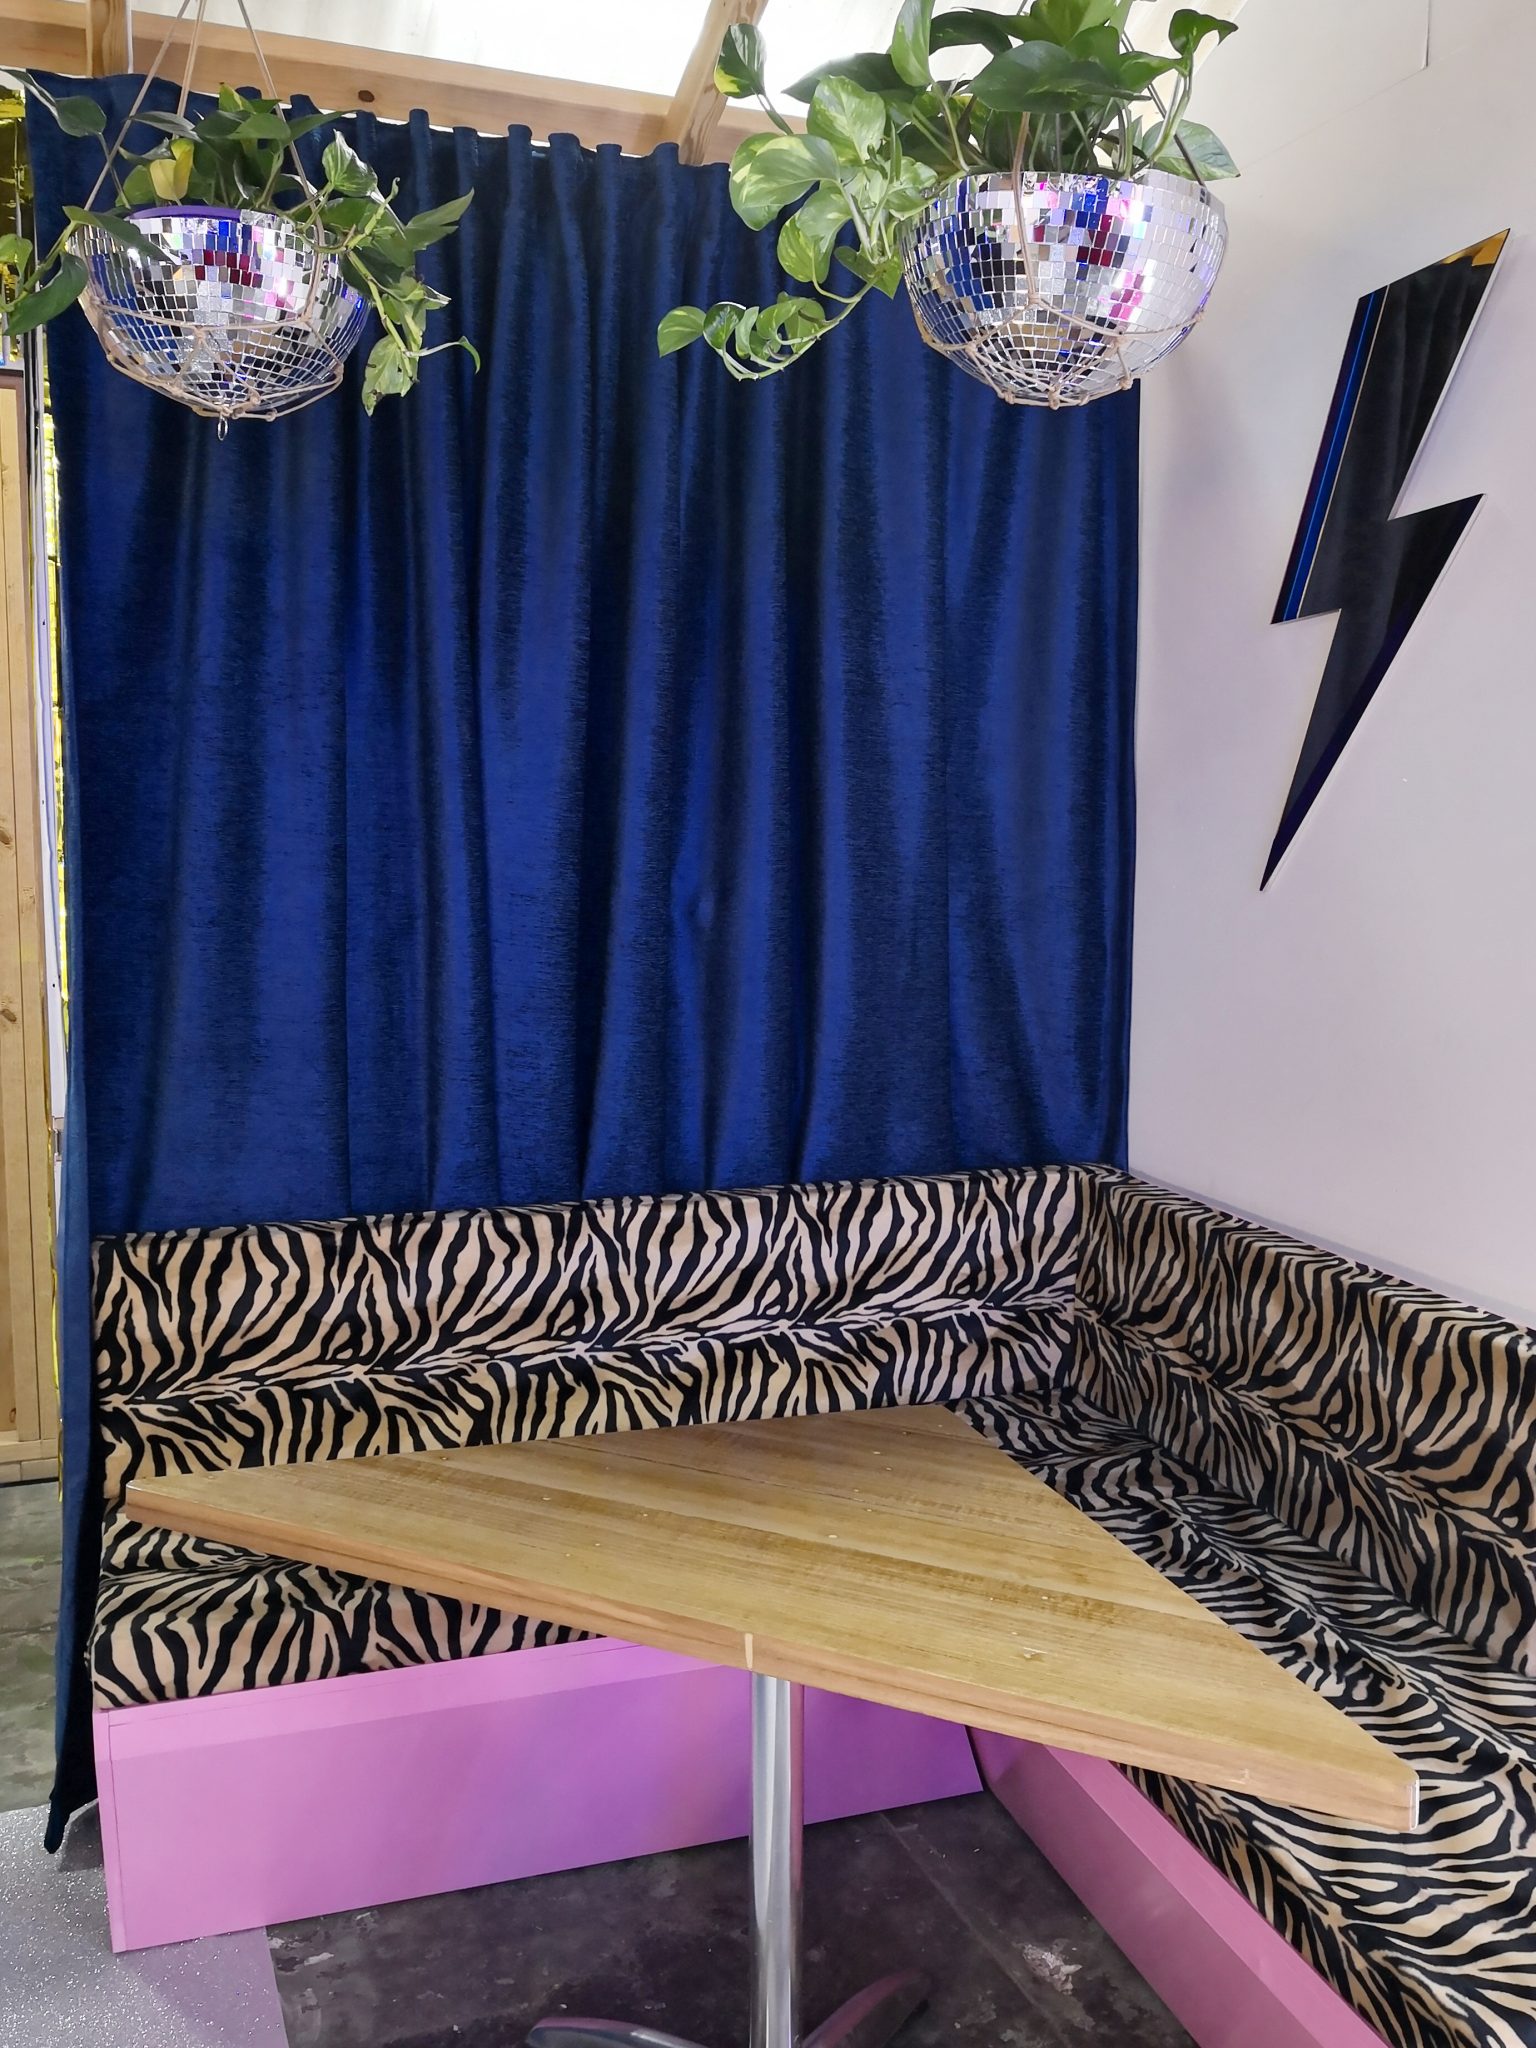
The booth is also a multi-purpose area (as is pretty much everything in such a small space!) – it’s the signing area for couples – with those disco ball planters (which we made!) and the most radical Bride + Wolfe lightning bolt mirror, plus the high gloss pink booth with it’s animal print upholstery, makes it an excellent spot for those all-important signing photos.
Our construction arm – Very Good Products – built the booth and the triangle table. The triangle was chosen over the 70s style tulip table because it meant more table space for when the area is used as a work space for the team, when they are not conducting weddings. The triangle shape is something different too – and that was one of the key objectives of the design; to make it unlike other spaces already available in Melbourne.

Comparing the concept + final design
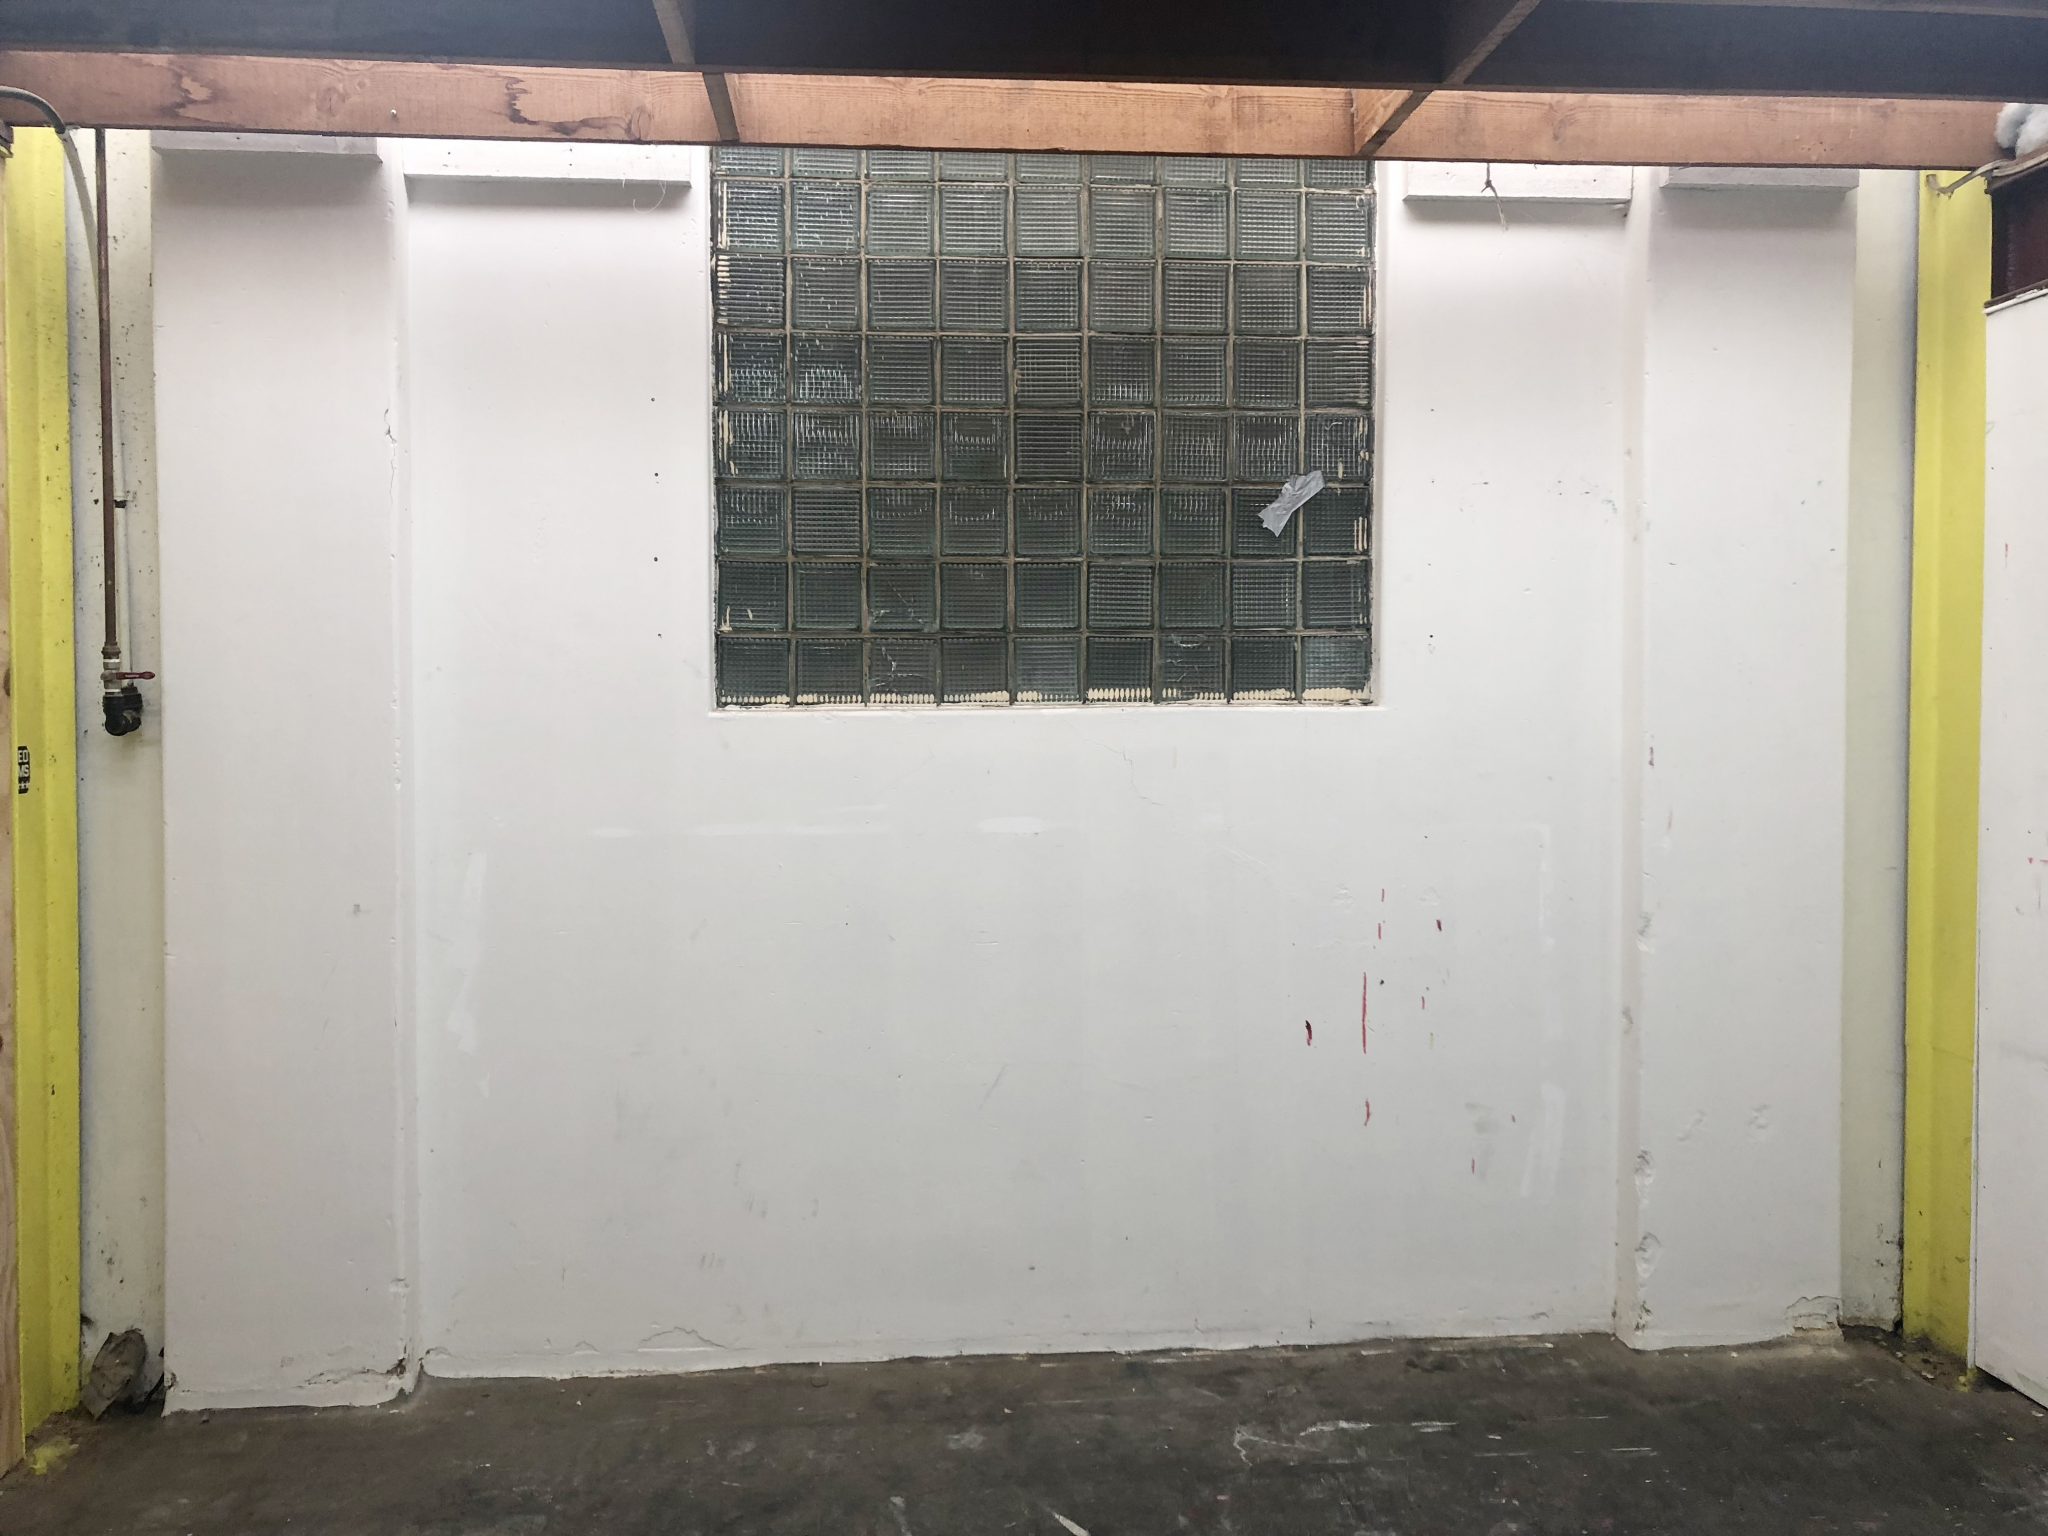
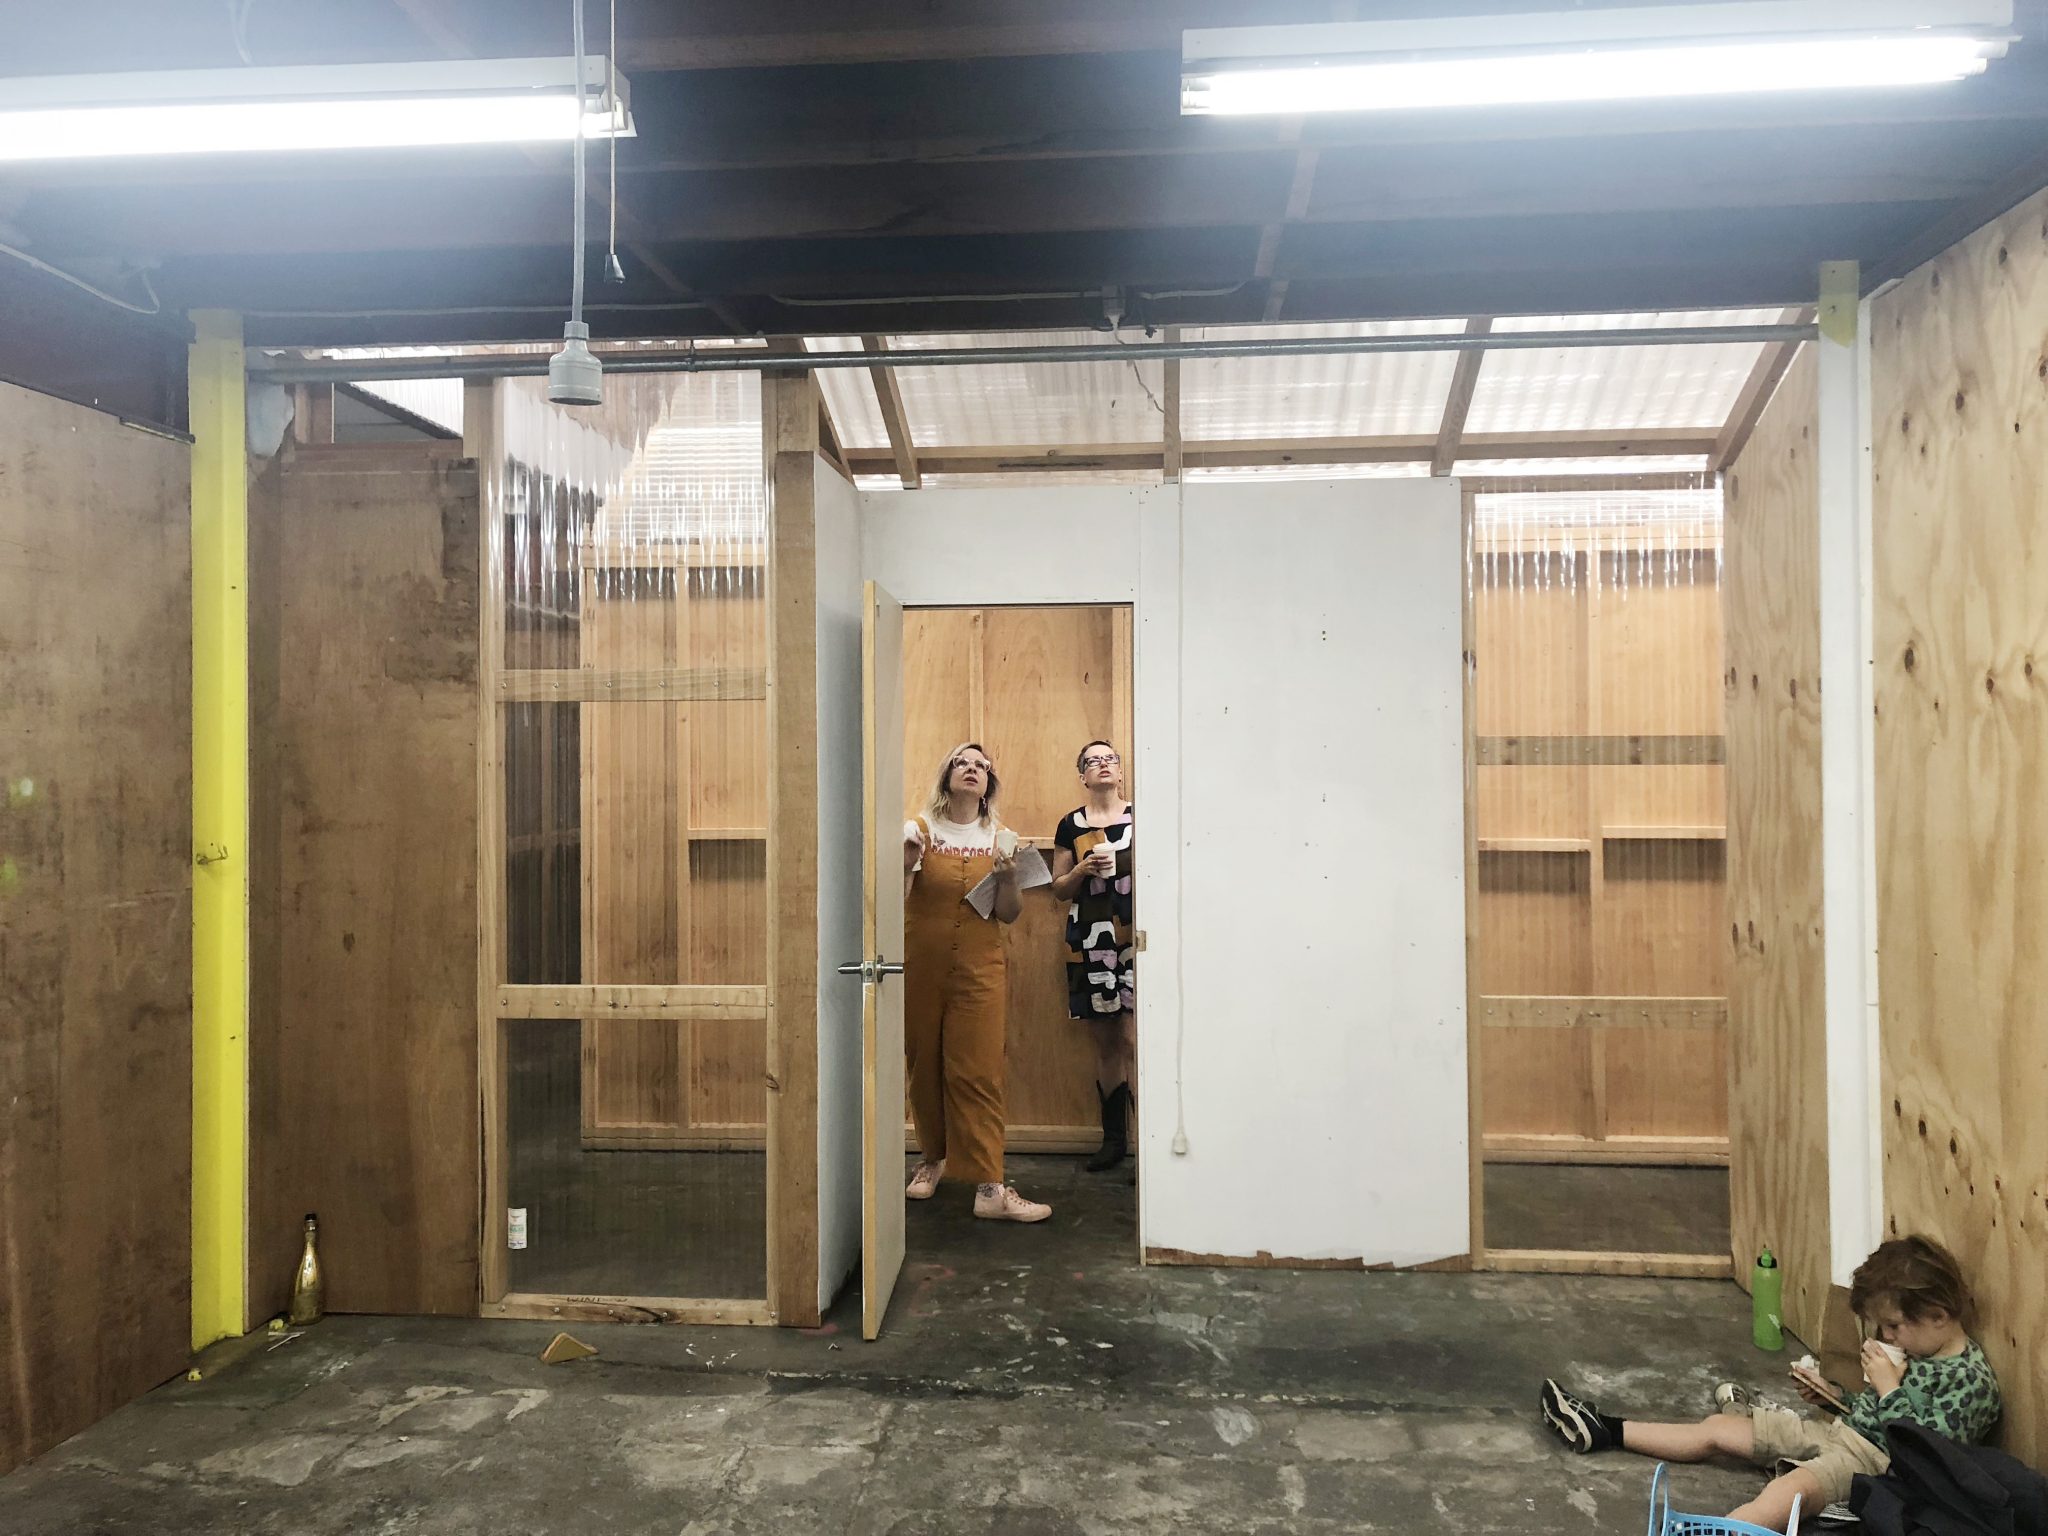
We’ve matched up the final designs with the before photos of the space and the photos once the space had been created so you can see how it came together.
Front of the room
The front of the room is where most of the action will take place and the design means that it’s the focus. The design also allows for other decor to be interchanged with their neon sign, to change the backdrop regularly, giving couples options for how the space looks when they marry there.
Before
After
As you can see below, the transformation is magical, super fun and frankly, unrecognisable.
Back of the room
The change to the back area of the space is maybe even more spectacular! From cold + industrial, to cool, cosy, fun and that sweet mix of old and new, that we’re known for.
Before
After

THE INSTALL
Once the design was final, it was time to install! Dee’s carpenter husband Pete clad the walls in MDF for soundproofing, and so that we could do our creative best, but also return the space to it’s original condition upon leaving. Pete also built the stage, and the team got their painting gear on! Our team started on the ceiling installation which consisted of 150m of chain (white plastic and silver glavanised) and 30 disco balls. That quantity of disco balls alone meant the delivery had to be split into six enormous boxes – which of course meant that some went missing! The chain weighed so much I couldn’t lift the box it came in! But we began attaching them to the ceiling onto strips of bird wire, hopping up and down the ladder hundreds of times to check placement and make sure it was looking like I’d hoped (and promised!) it would.
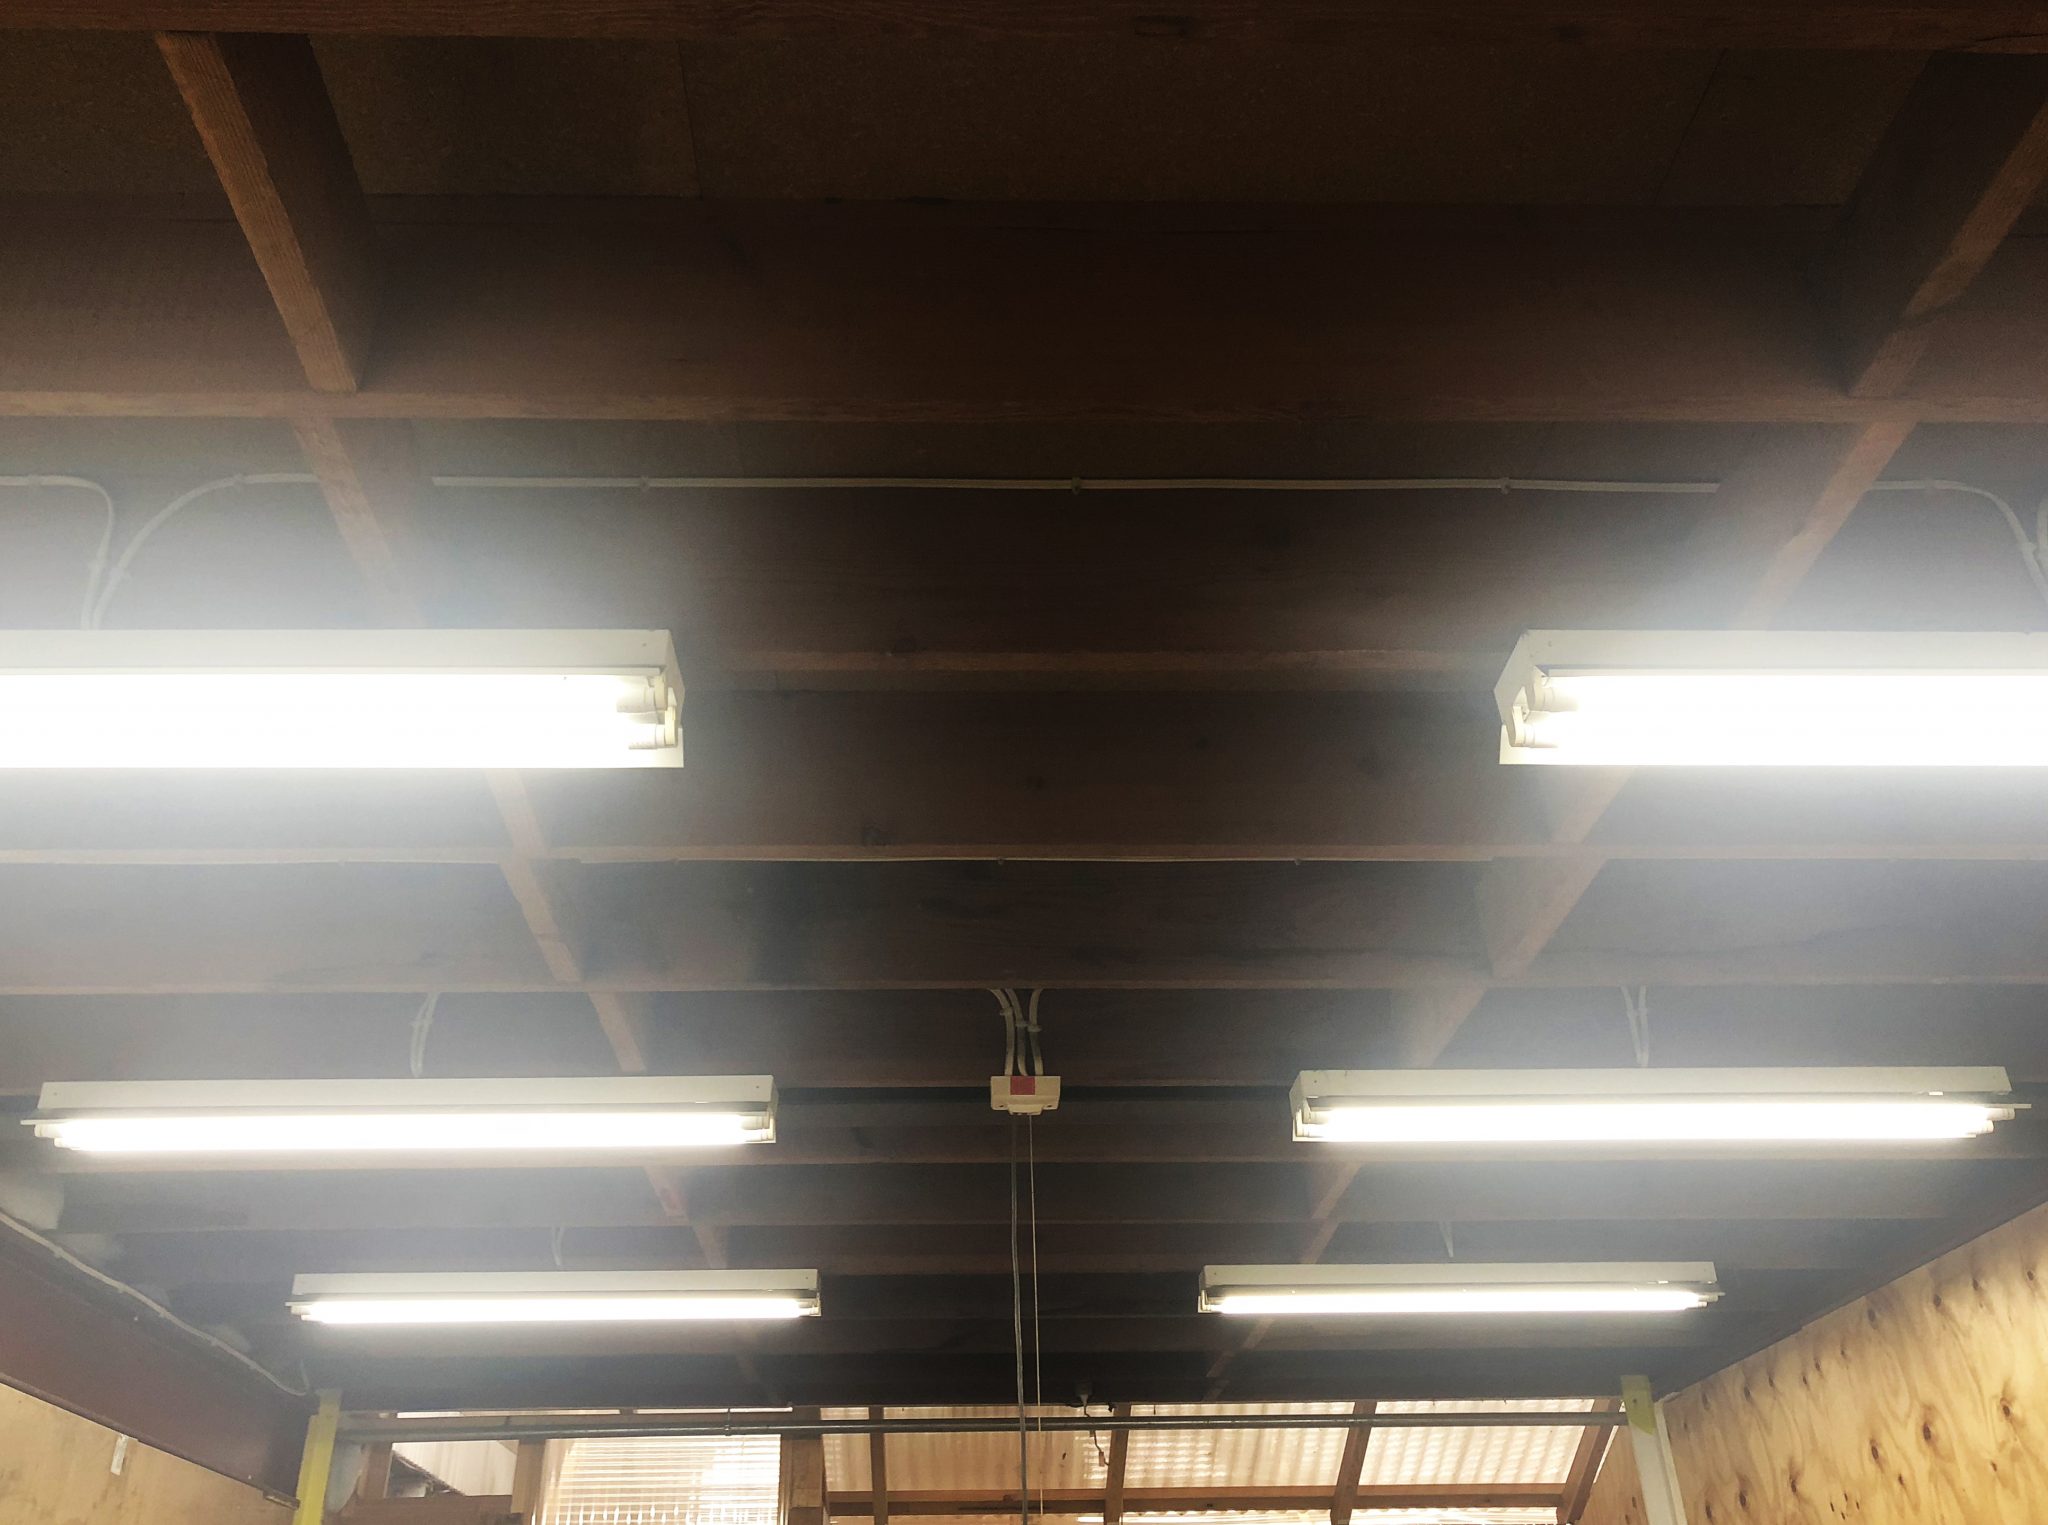
It took about 20 hours to install the ceiling alone – I had cuts all over my hands from shoving them between the bird wire and the rafters to get the cable ties in. And did you know dust is really stinky? There was a lot of old dust that smelled funky and got all over me. It’s definitely a very, very sexy job.
The glitter columns were a several step process – they were painted in metallic paint. Then we made a concoction of Modge Podge, several sizes and colours of silver and gold glitter, sequins, metallic foil and other metallic bits and bobs and applied it slowly to the columns, finishing with hand applied pieces to give it a super chunky finish.
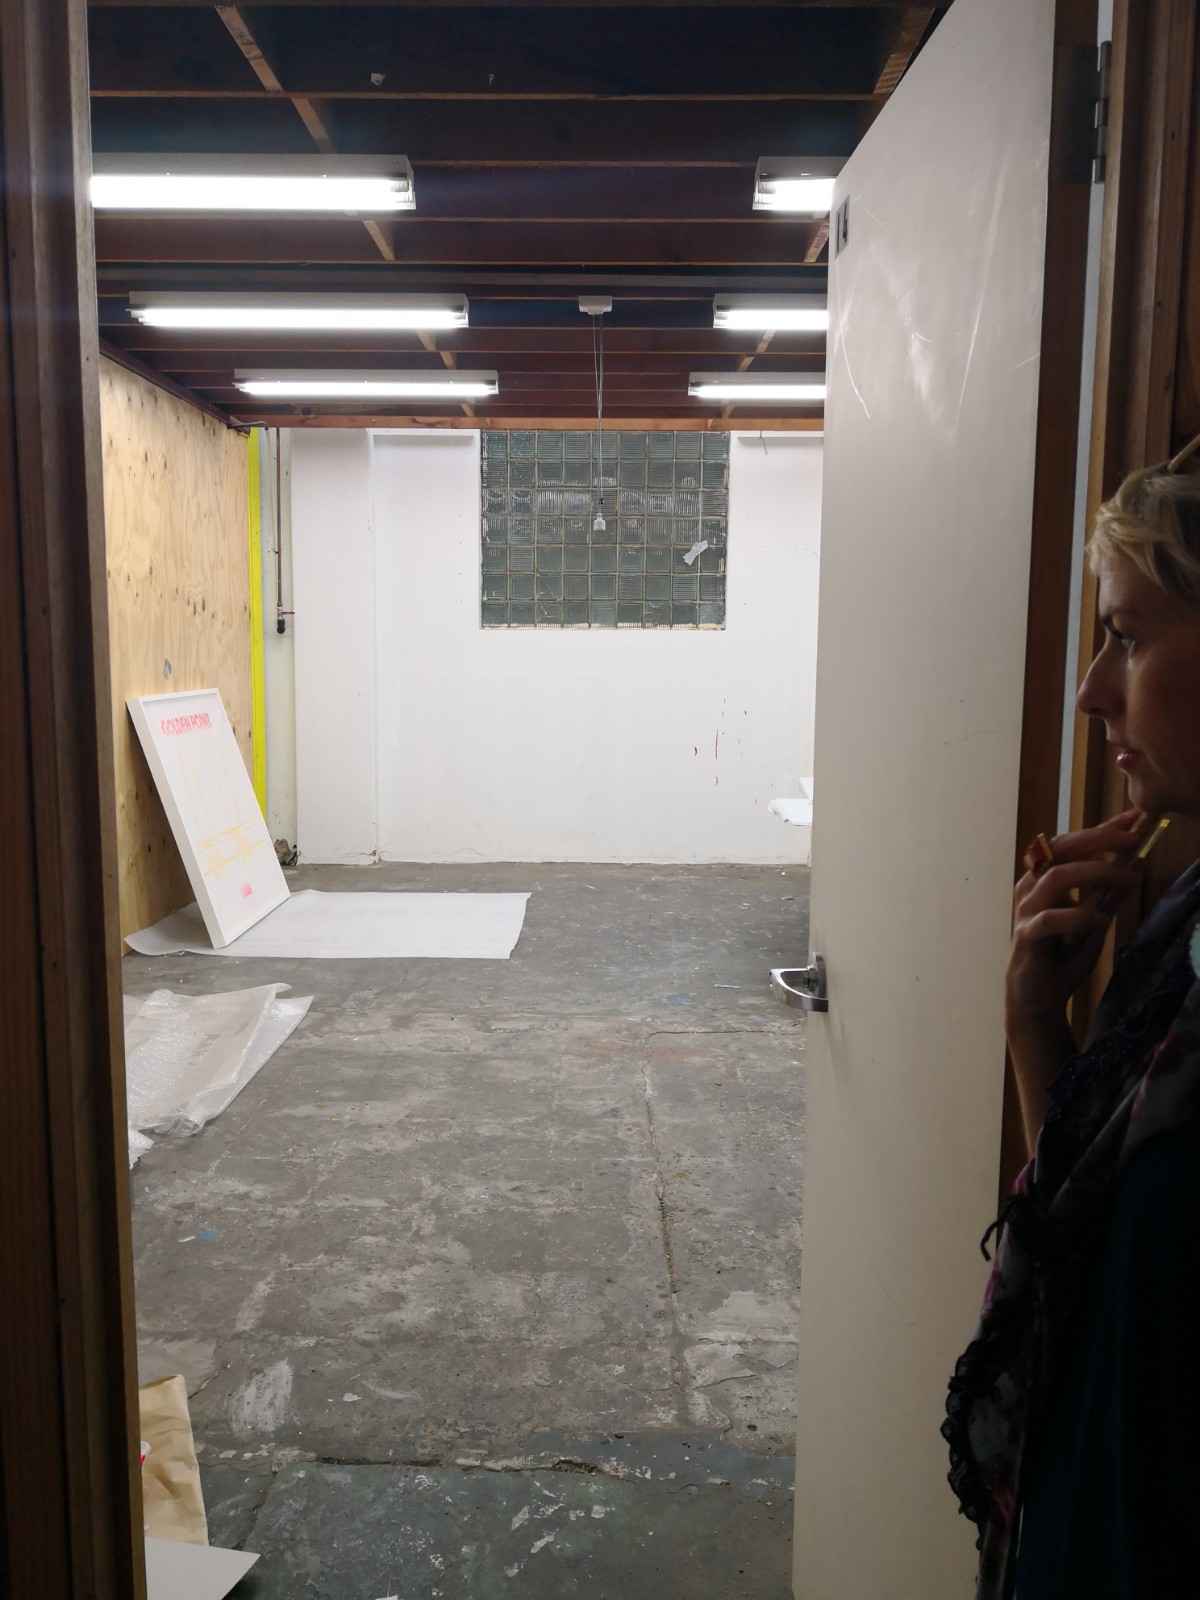

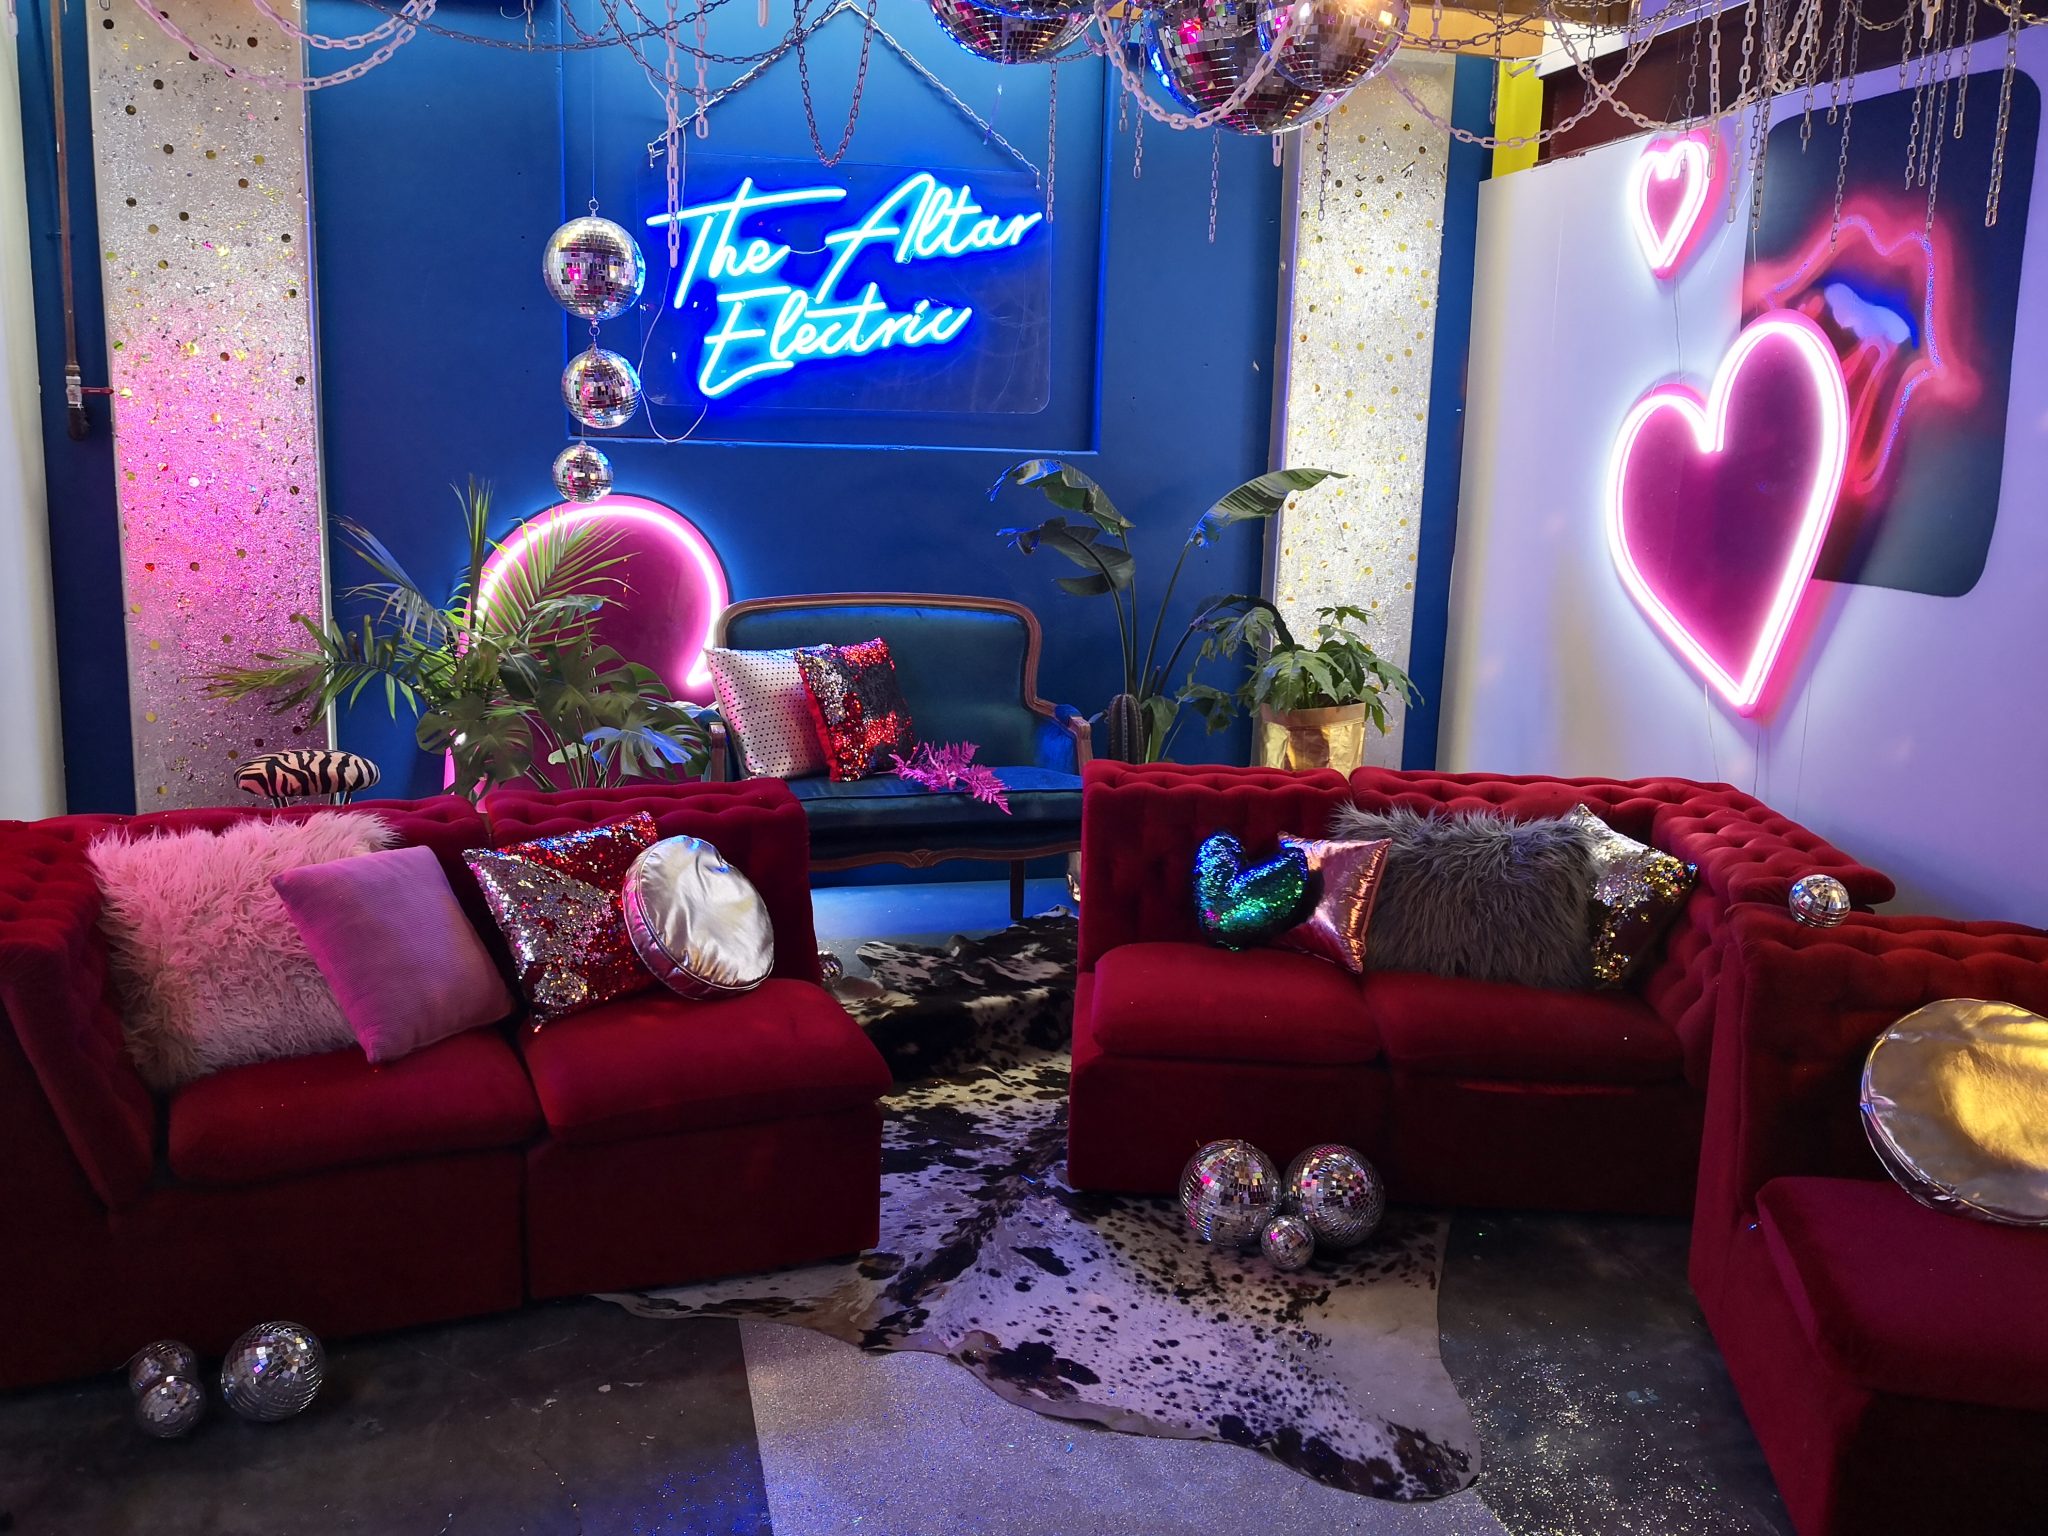
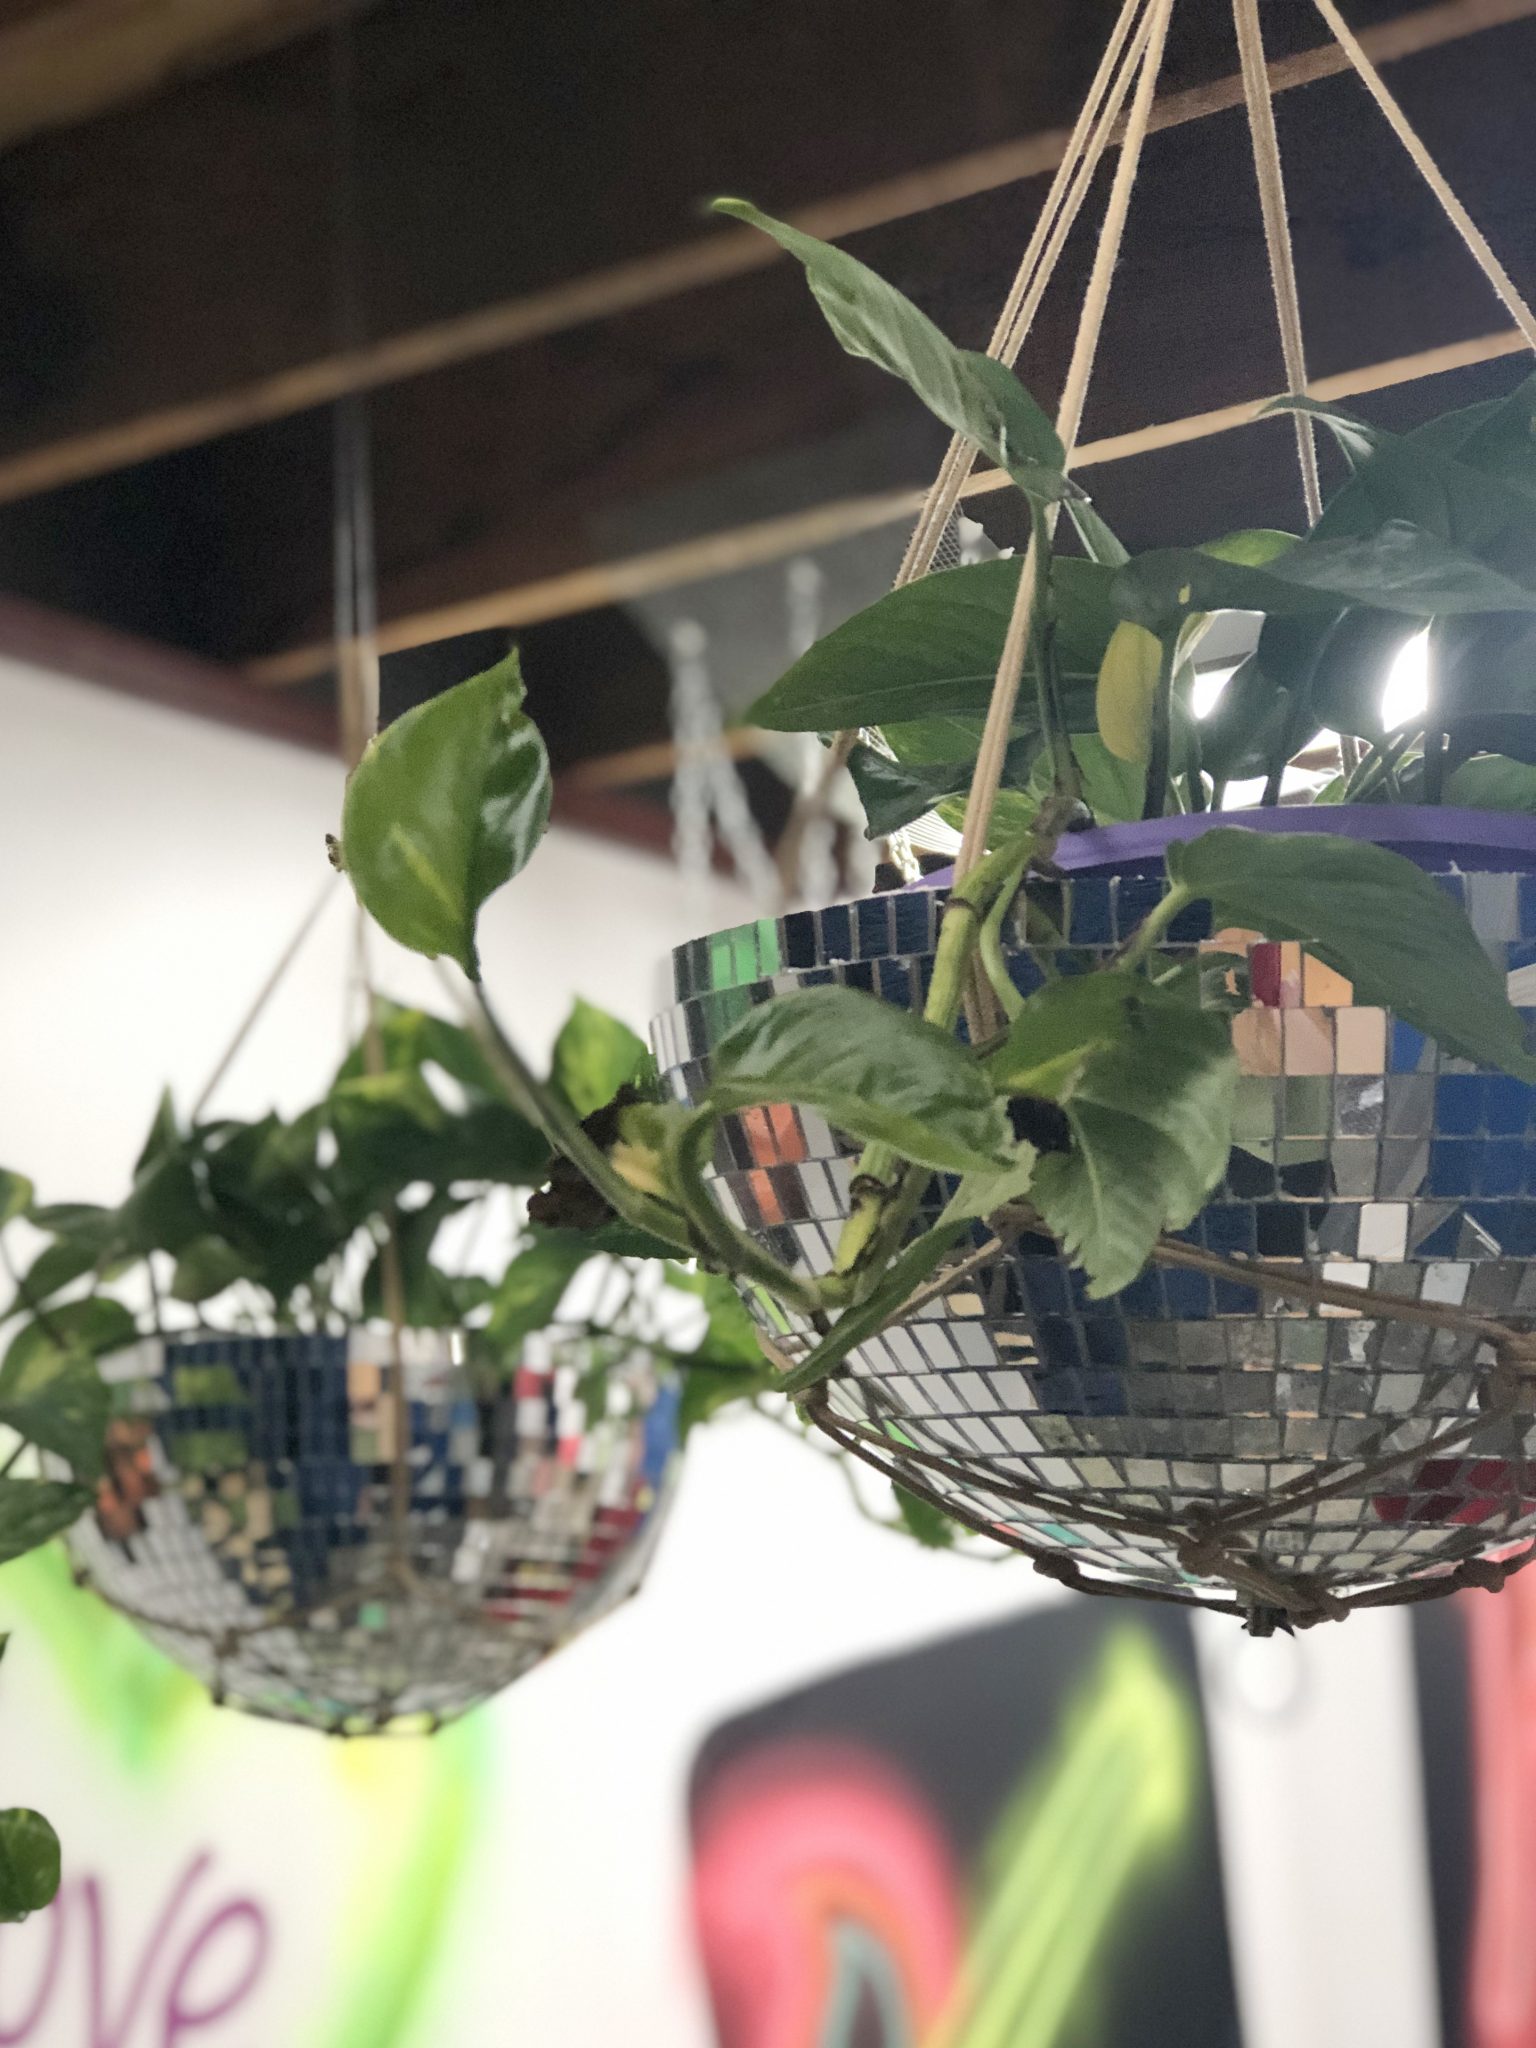
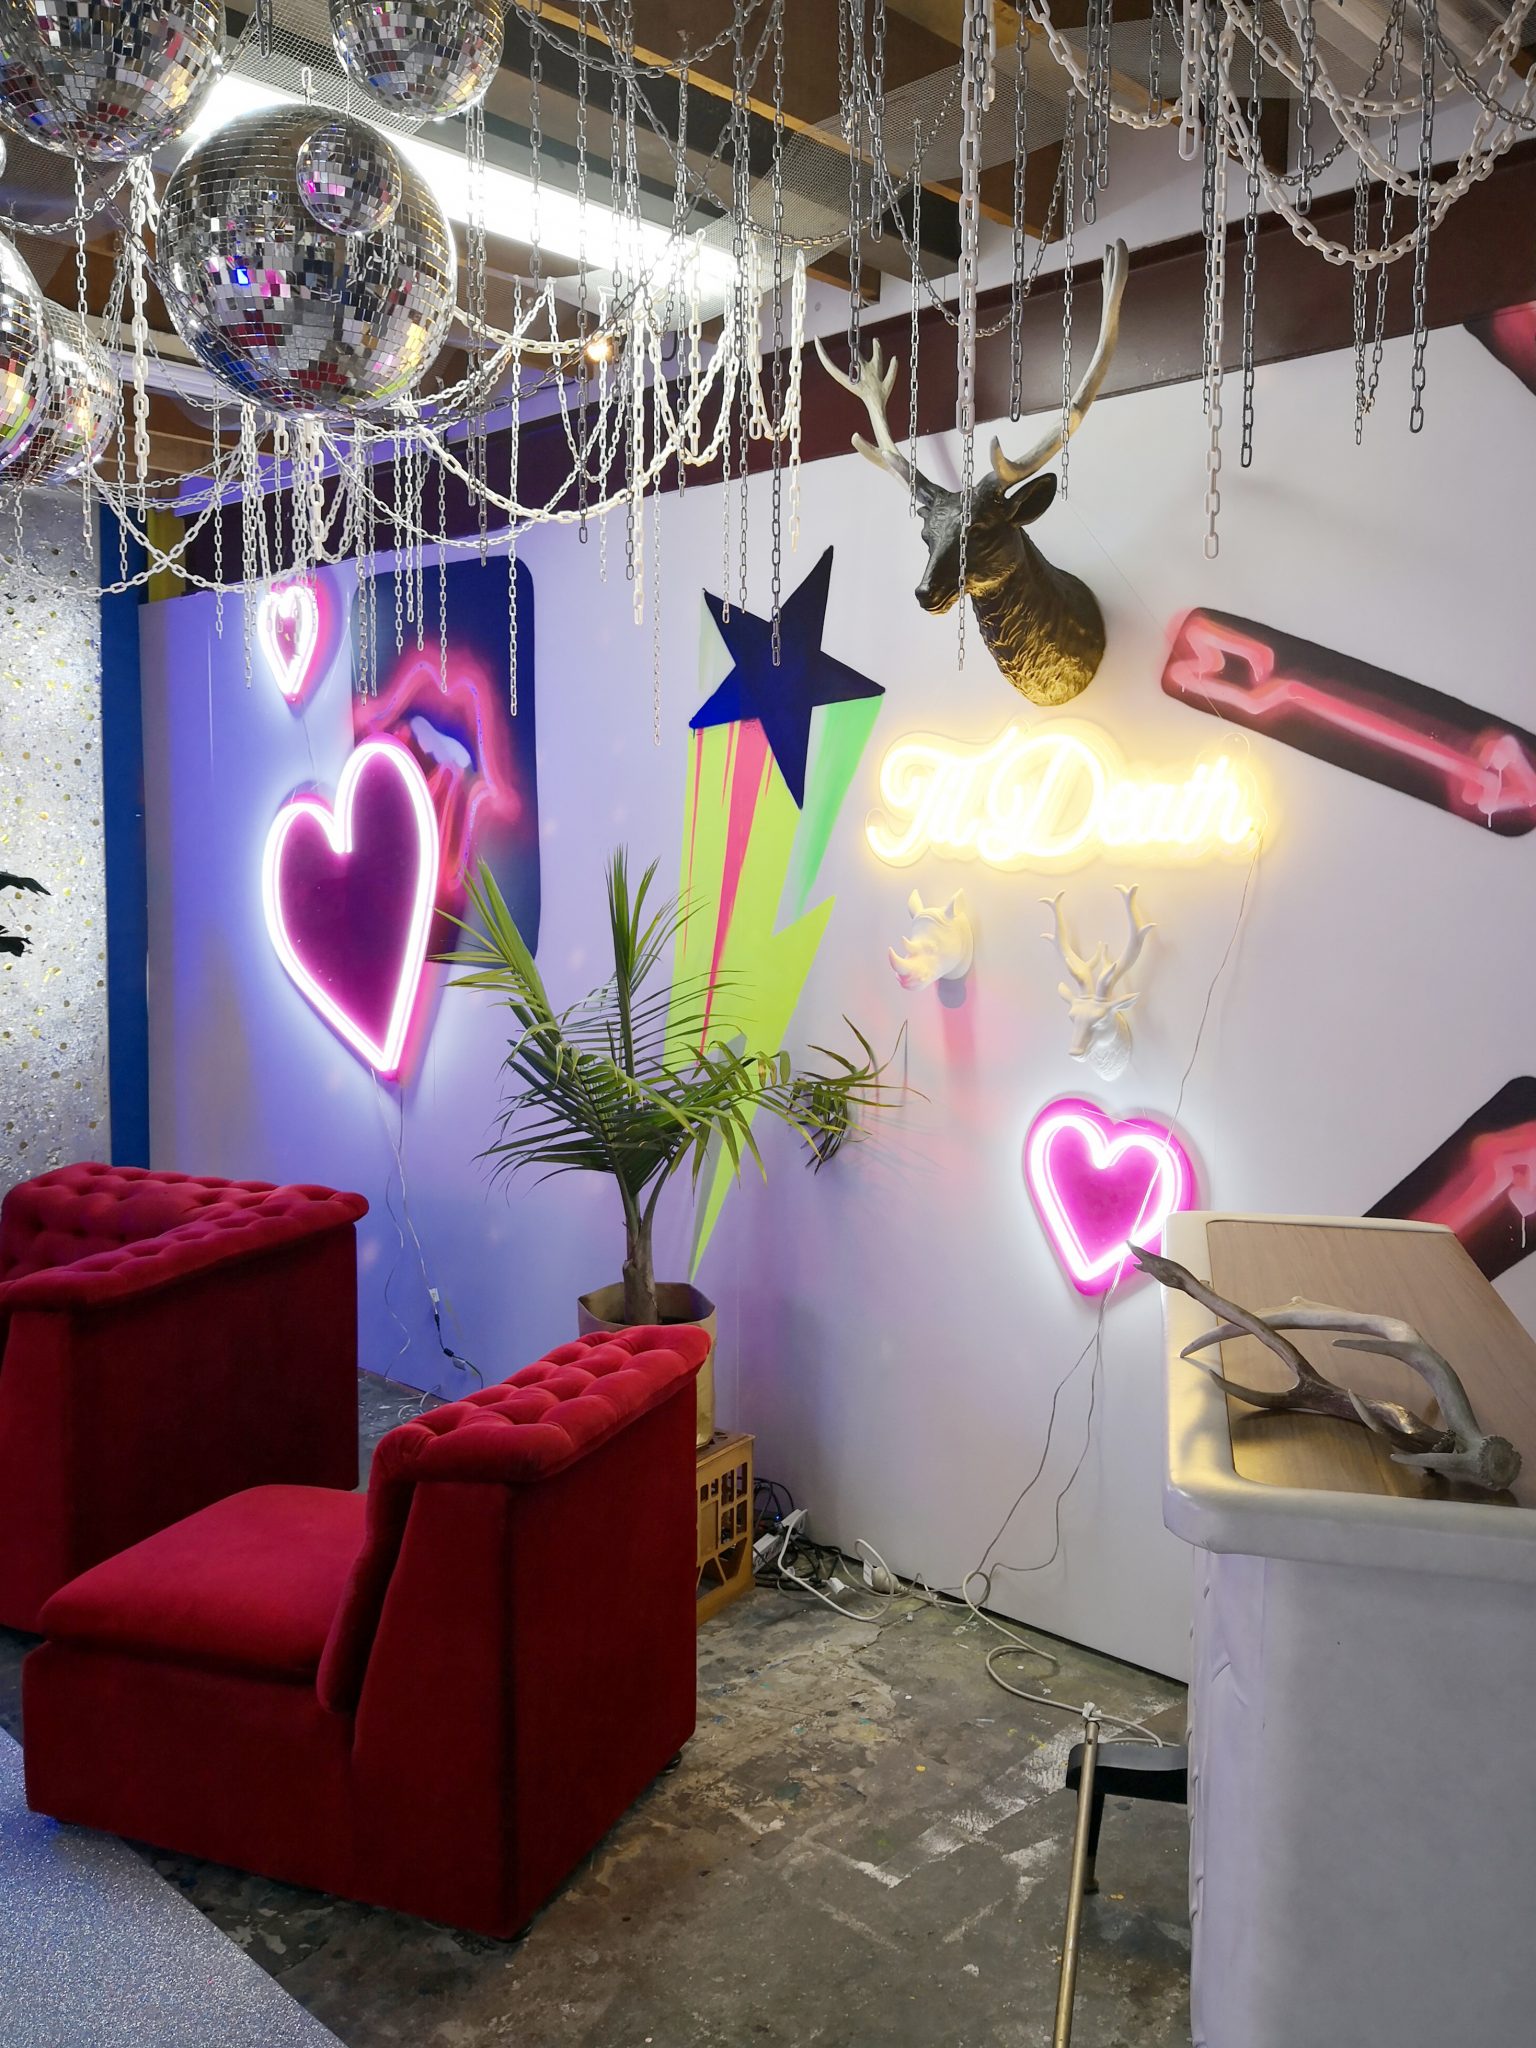
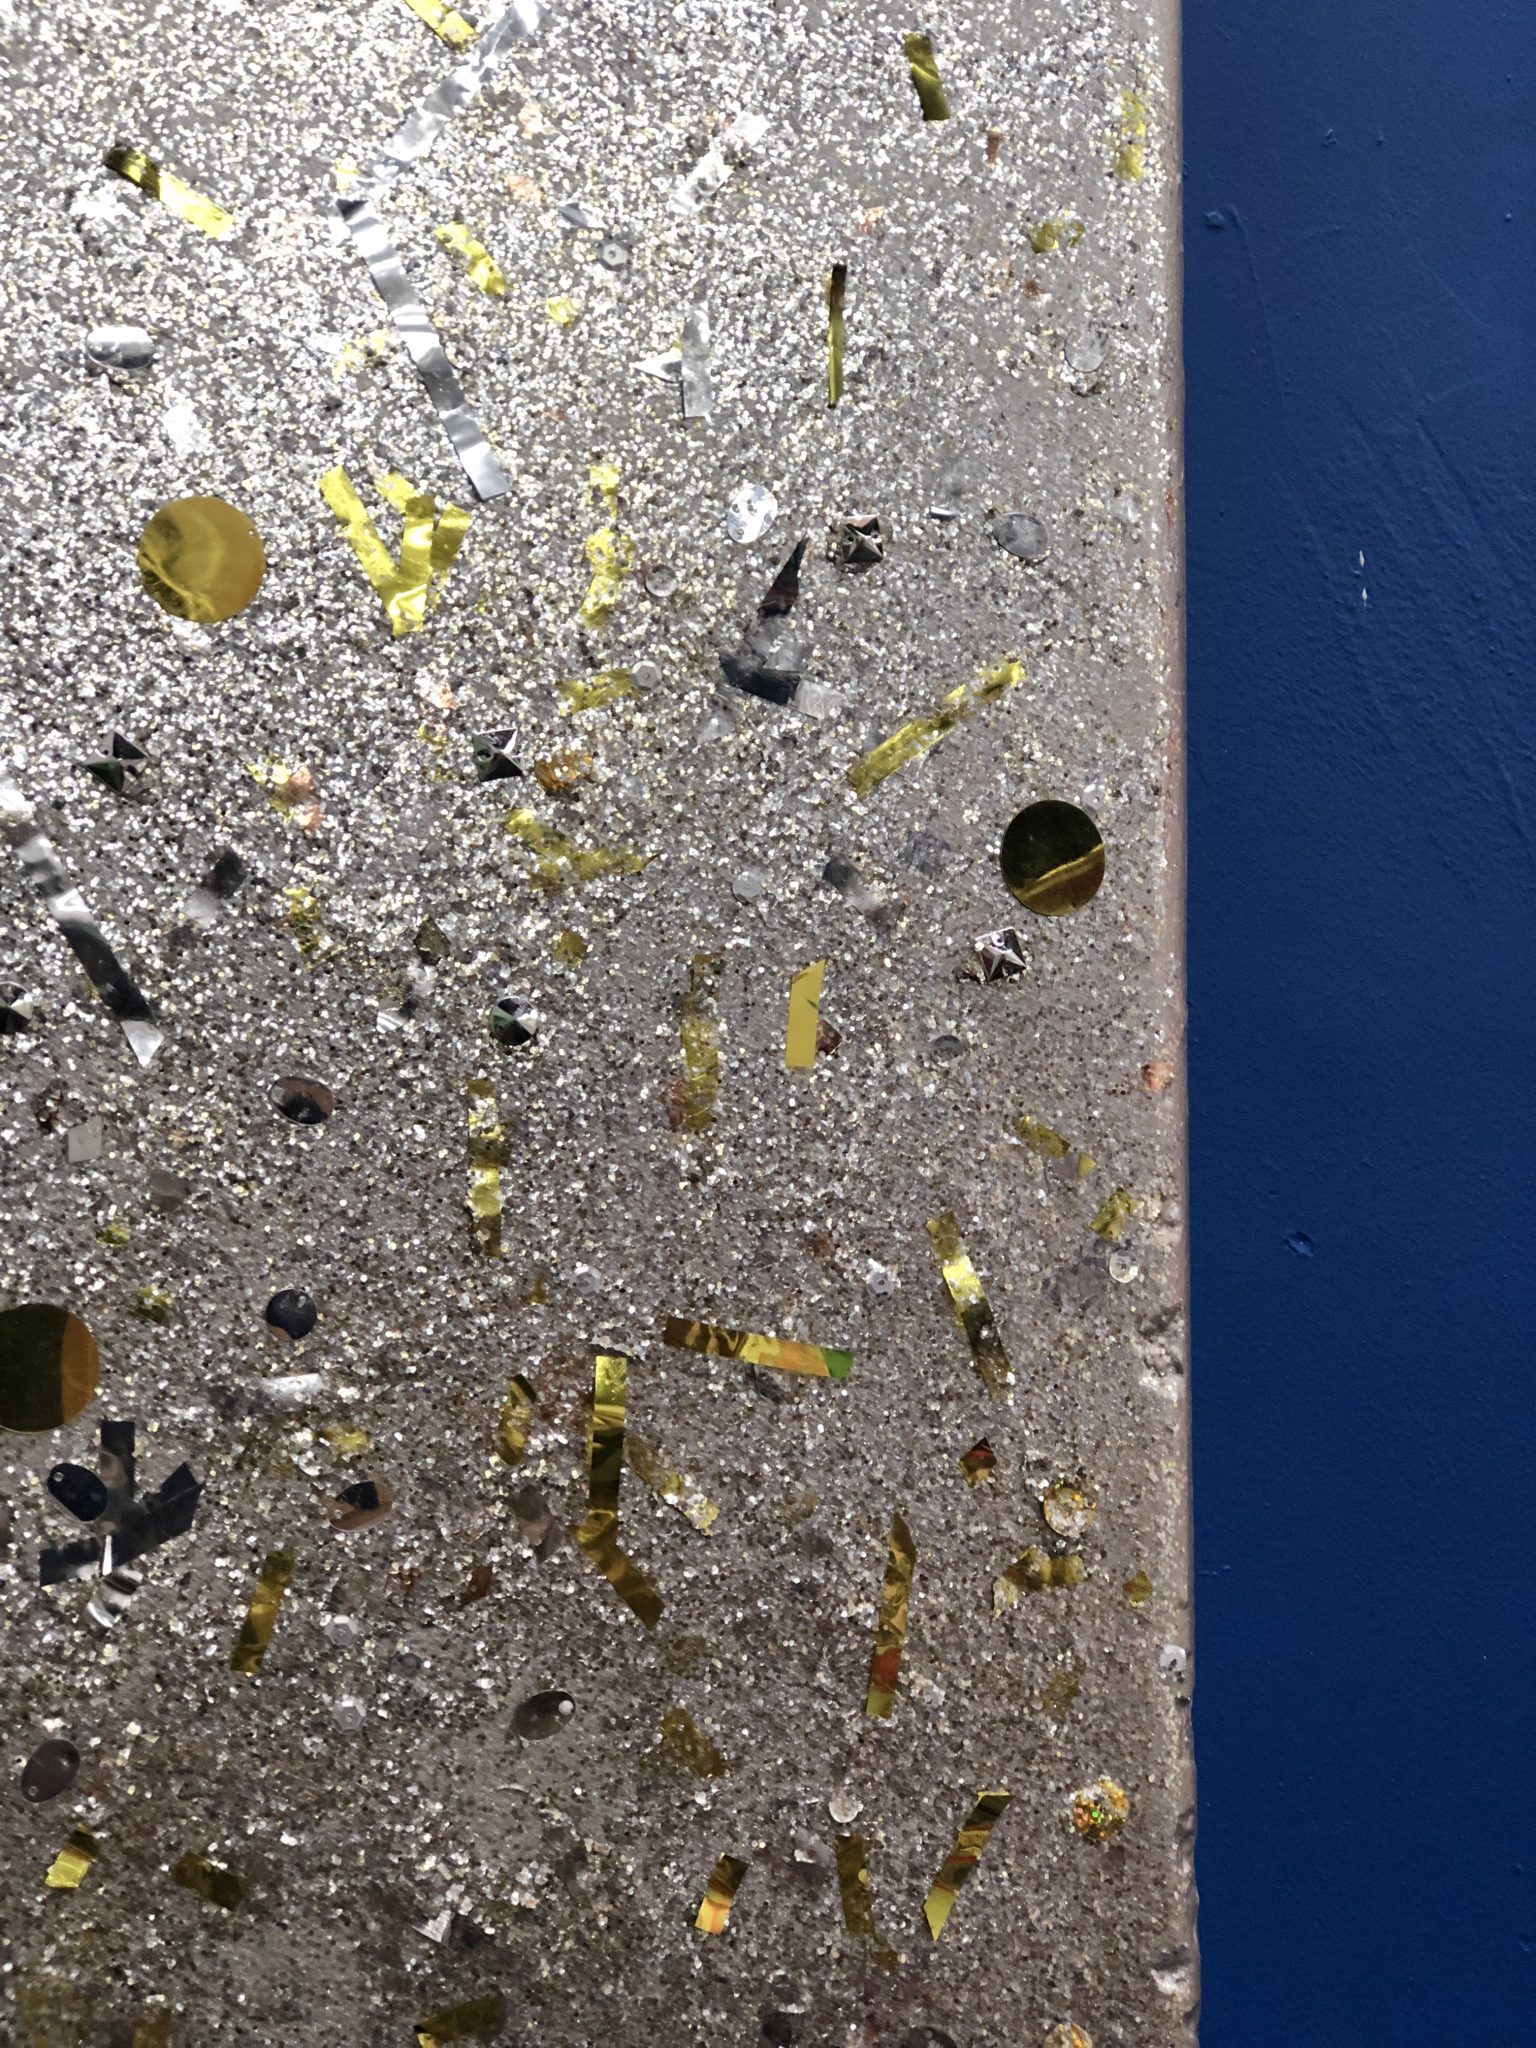
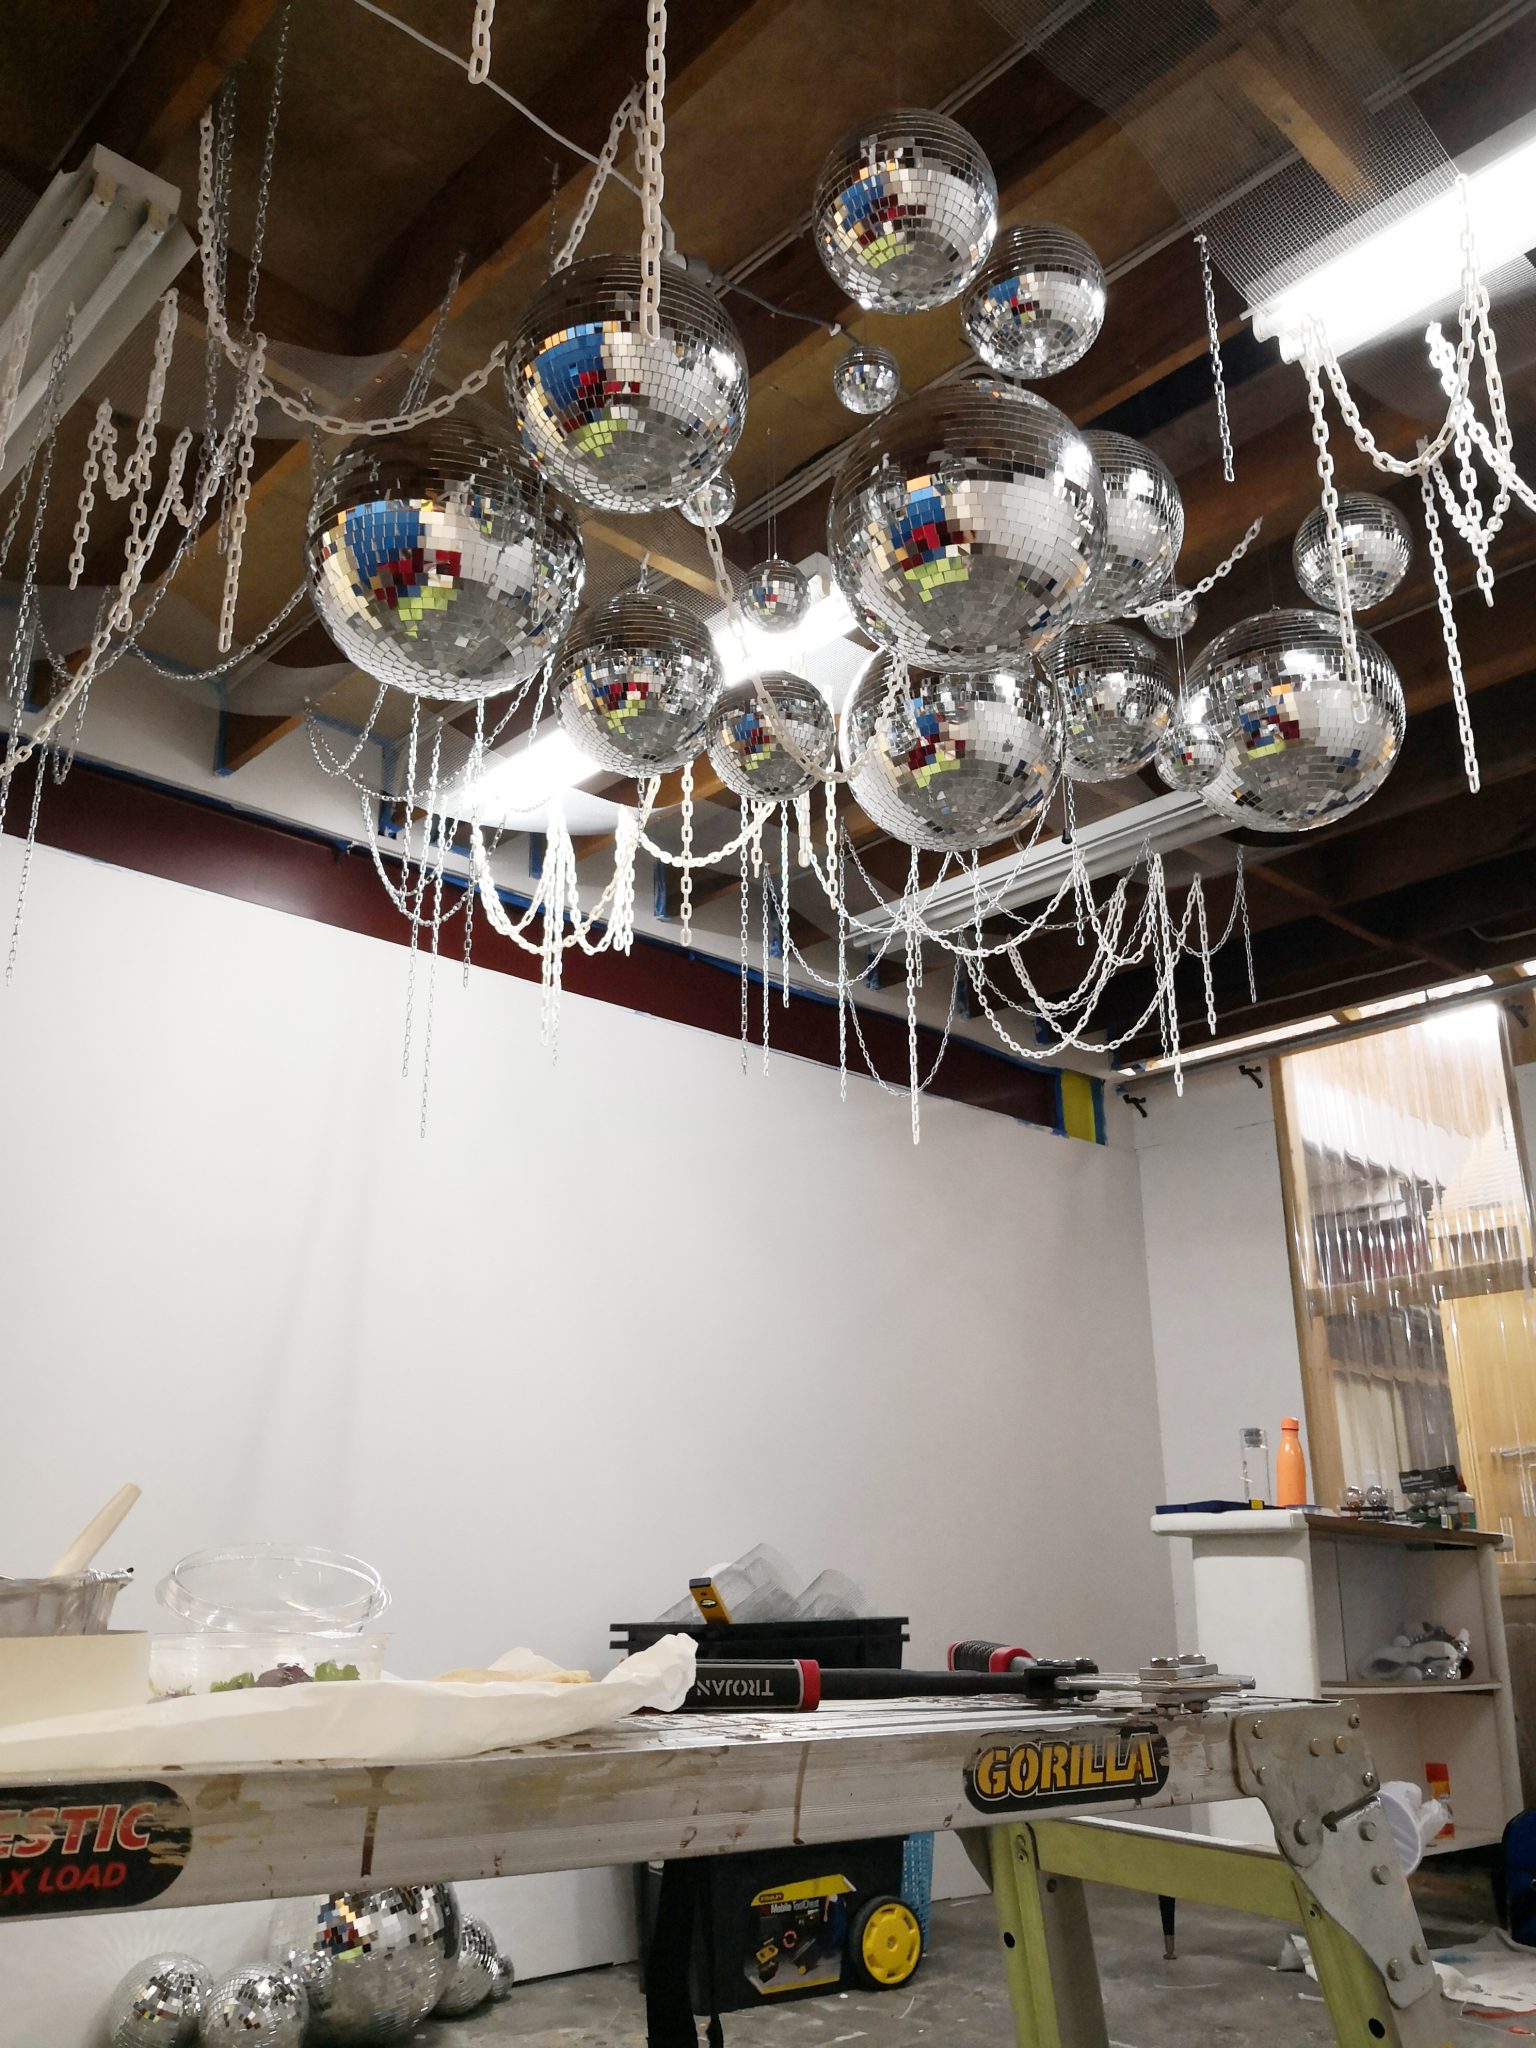
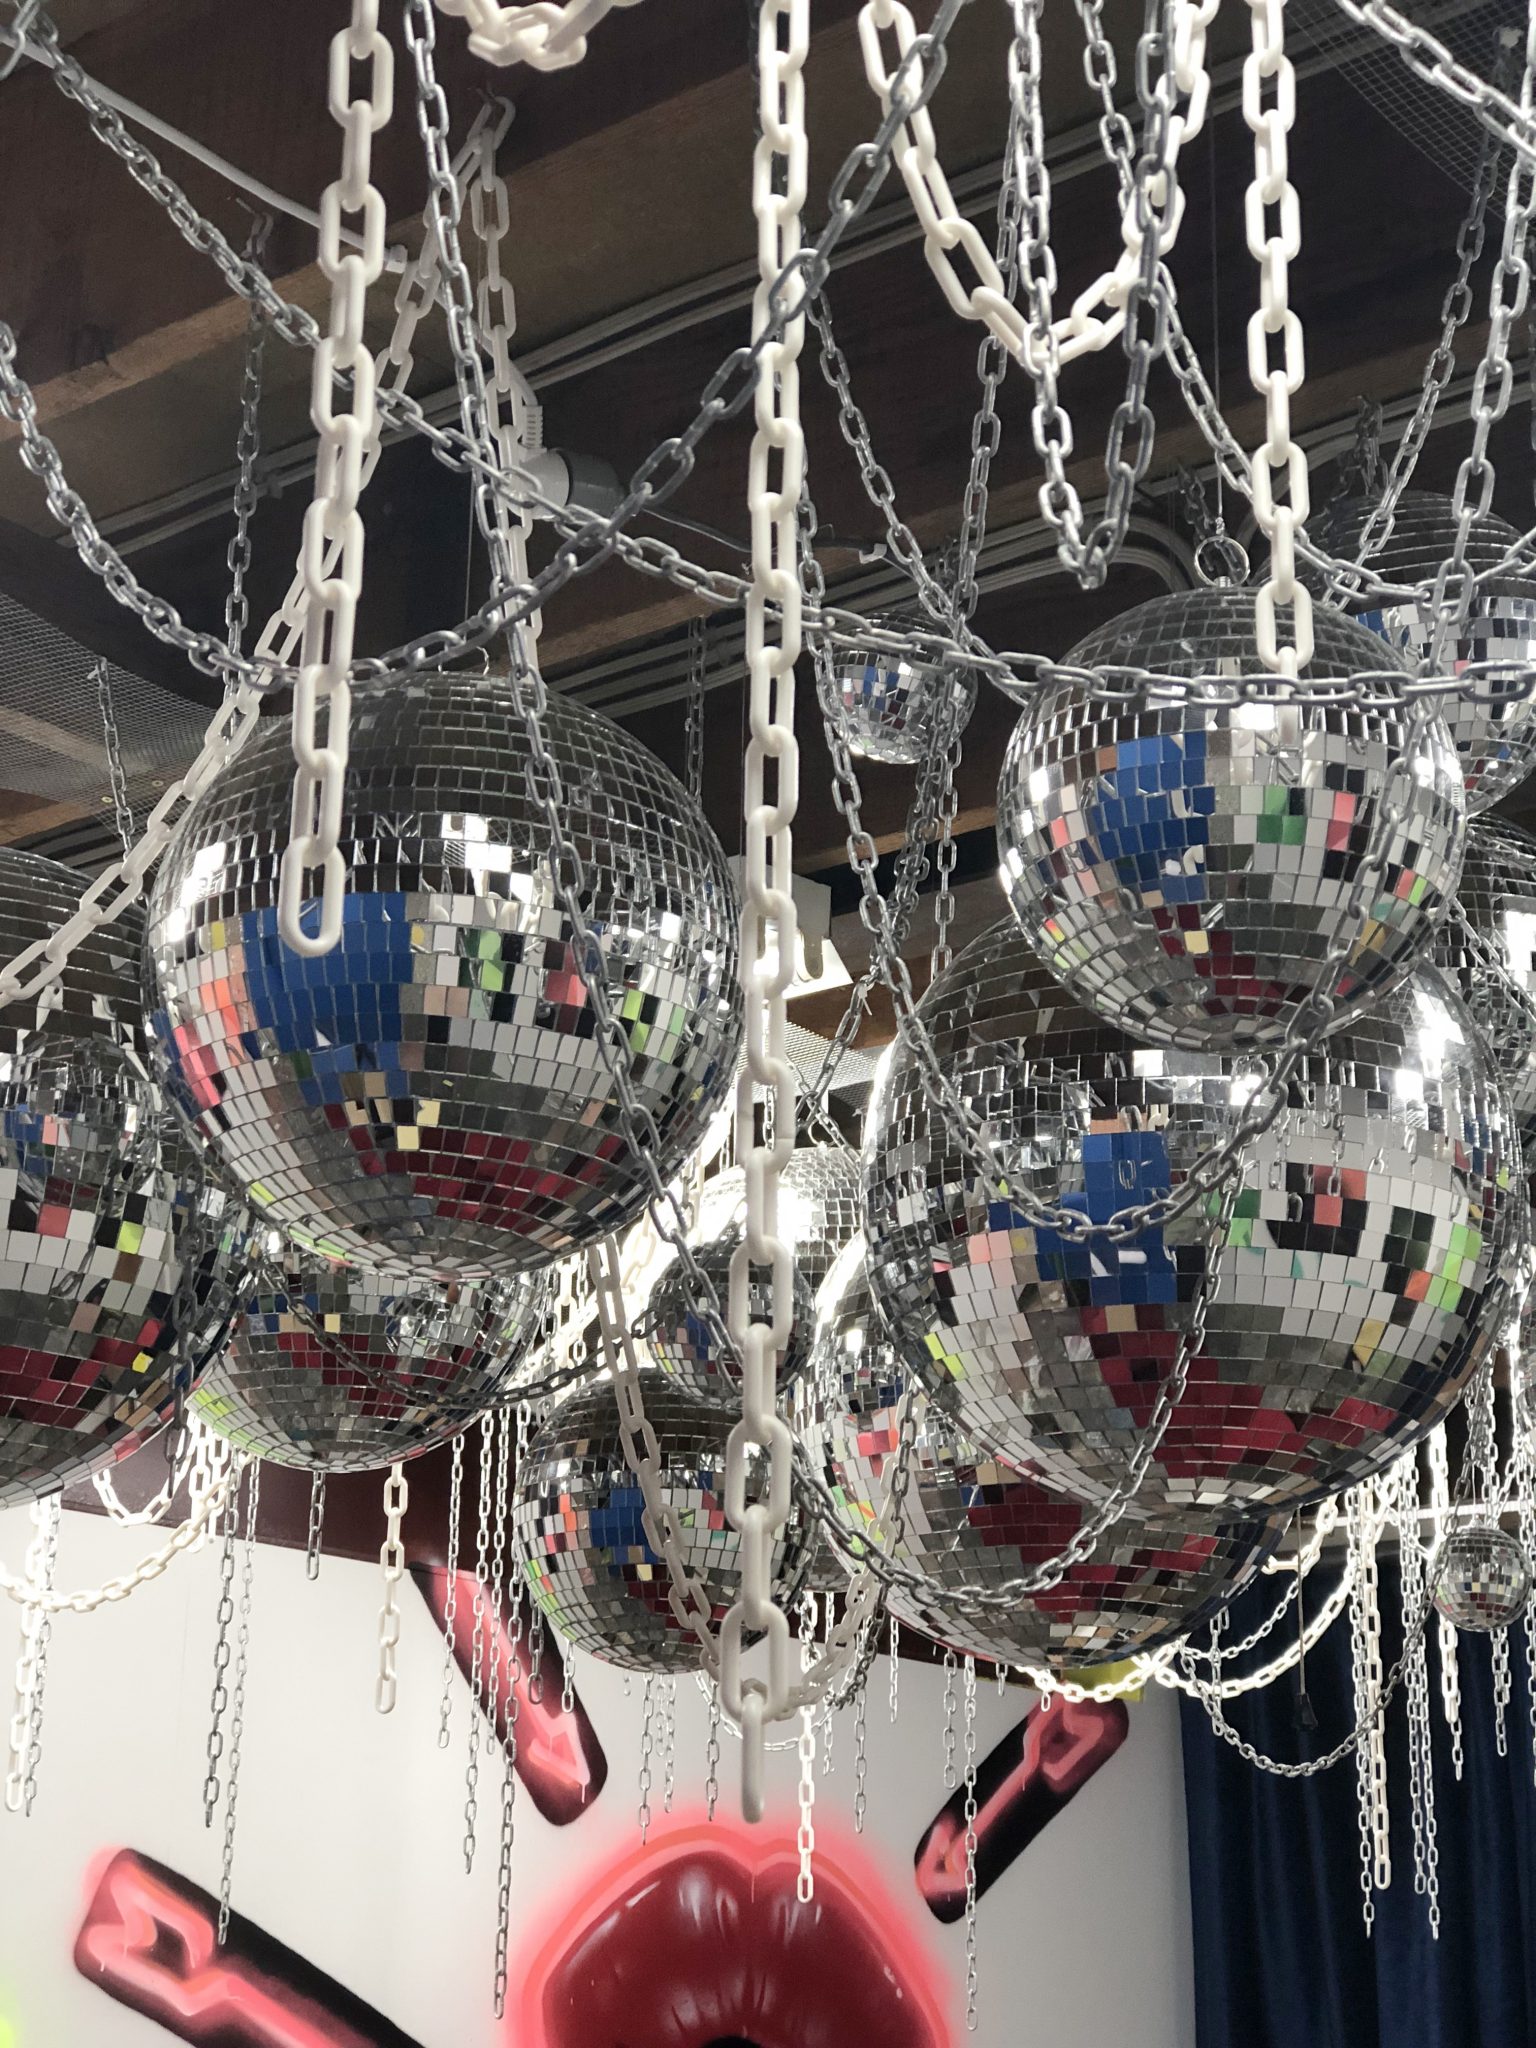

There were many early mornings and late nights as we worked to get it ready asap. There was a bit of a hiccup to the process when the team got slightly cold feet on having white walls on the two side walls, and got a graffiti artist to add some graffiti to the walls. It didn’t quite work in the with the rest of the agreed design, so most of them ended up getting painted over in favour of the white. As a result, the space looks a lot larger and more sleek, getting back to that rock n roll + Vegas concept.
It was now ready for people to get married in it, OMG!

33/180 Fairbairn Rd, Sunshine West VIC 3020
Studio visits by appointment only
© 2022 Good Day Group Pty Ltd ABN 54 612 840 338